Wednesday 26 October 2011

Daylight Lamp & Flashlight……

The very clever people at www.uk.daylightcompany.com asked my wife Jak if she would be willing to try out one of their new and innovative products. It was a very handy product indeed. Not only is it a nifty portable battery powered desk lamp, ideal for crafting. It also boasts a very bright flashlight.

Well I’m afraid I had to get in on the act.

I often use Jak’s other daylight lamp, especially when I’m taking photo’s for my blog, and when my eyes are particularly tired. I use it, as it gives a very clean crisp light and it gives true colours. But it isn’t always set up were I need it, so, when this portable light came along I had to have a go. Maybe I wasn’t expecting the lamp to preform like it’s big brother, but believe me it does. Granted it isn’t as powerful as the mains powered lamp but, for a portable battery powered lamp, it was more than adequate. It has a whopping 28 LED’s on the main light and it has 6 LED’s for the flashlight. It will last for up to 6 hours on just 3 AA batteries.

IMG_9090

As you can see it is a very compact size and doesn’t take up a great deal of room on your desk or workbench. You can see from the picture above, it gives a flood of clear white light to illuminate your work. Ideal when cutting out intricate detail.

I’ve had a LED torch before and didn’t rate it at all, as the light it gave was not more than a couple of candles and it spent most of the time at the bottom of my tool box, redundant.

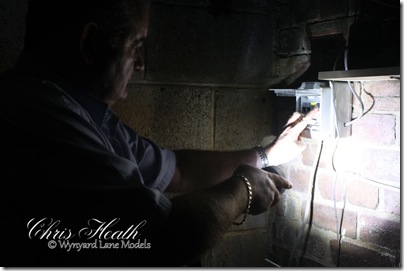
This handy torch has 6 LED’s and gives, like the main light, a good flood of clear bright light. Very handy for those jobs around the house, garage or shown below, the shed. (Trust me when I say that no fuses were harmed in the making of this review) 

IMG_9113

In summary, this handy lamp and flash light has got to be one of the brightest portable lamps run off 3 AA batteries on the market, and to have a flashlight into the bargain, Brilliant. I think that Jak may have just lost this handy light.

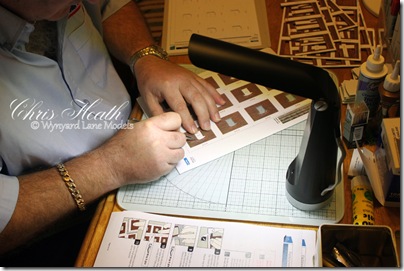
For those of you who are interested, the picture at the top of this post is the latest project I have started from scalescenes. It is the Factory Warehouse T026. As you can see there is a lot of intricate and repetitive cutting out. I’m sure the end result will be worth it. Drop by again to find out how I get on.

Until next time…….

Chris

Sunday 16 October 2011

N.E.D.C.C Update….

Just a quick update on the North East Dicast Collectors Fair yesterday at Birtley.

First of all I would like to thank all of you that came to see me and introduce yourselves in my little classroom along the corridor. I was out of the hustle and bustle of the main halls, but that suited me just fine. A quiet little haven to showcase my models and build a new one for the collection and on the plus side, I could talk in peace to all you who had questions about scalescenes products. One of the most frequent questions I was asked was “What did I print my images on” Well I can tell you I don’t print onto plain paper, I print onto A4 Address Labels. These are readily available from any stationary store or off the internet. They may be a little more expensive than printing onto paper but, it eliminates sticking the images onto the board with glue and getting the dreaded air bubbles. Plus once mounted onto the board you can work immediately with that piece. No waiting for the glue to dry. I also find that using a glue stick causes me problems, because the glue tends to dry rather quickly and on larger areas, this can mean reapplying a couple of times before getting the image mounted. Anyway this is my preference, we all have our own opinions on what is best.

The model I decided to build was the Garage T017 in brown brick. I wanted to try and complete a project in one day, so that the visitors could see a “start to finish” build. Unfortunately I didn’t manage it, but I nearly did, it only took me about an hour to complete last night and it looks great. 

Once again thanks for all of your support yesterday as well as here on my blog.

I am trying a new format for showing my pictures and I’m not sure. What do you think. Please leave a comment. Thank you.

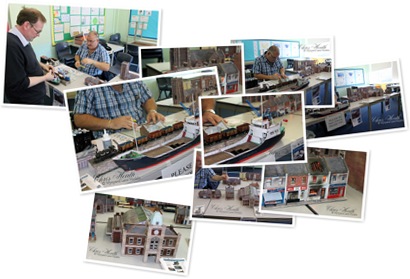
Here are a few pictures from yesterday.


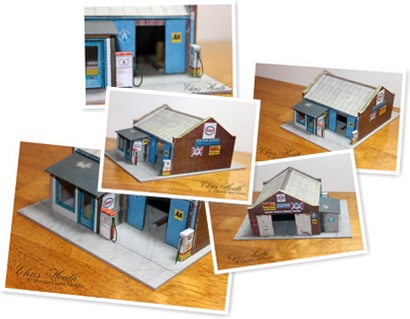
And some pictures of the Garage all finished.


Until next time……

Chris

Wednesday 12 October 2011

Quayside………

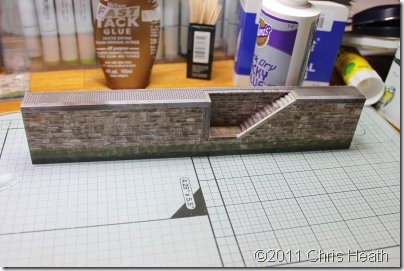
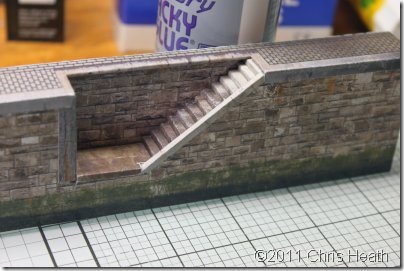
Well I finally got round to making a quayside for the “Iberian Trader”. It isn’t the final one that will be used on Wynyard Lane but, I wanted to get some sort quay built for the NEDCC Toy Fair on Saturday. It is built from the scalescenes kit T016 Dock Edge. Again so simple to construct, but so effective! The kit can be built as long or as short as you require, and with the addition of the cobbled stone or concrete quayside, it makes a quite effective scene.

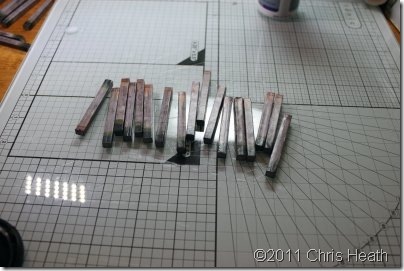
It all starts with making the Pilings, these come in a choice of either concrete or timber. I chose the timber as it fits my period.

Img_9036Please excuse the quality of the pictures, as I have had to use another computer with different photo software and it isn’t as good. Anyway you get the gist.

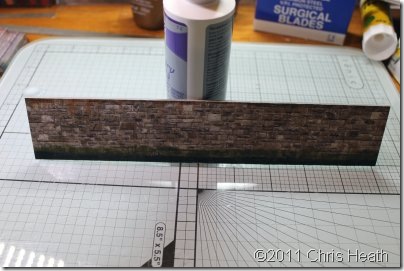
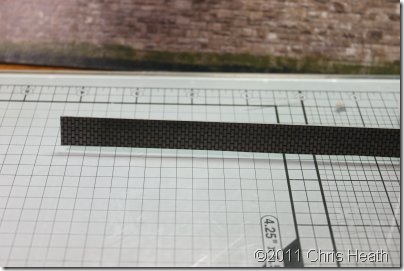
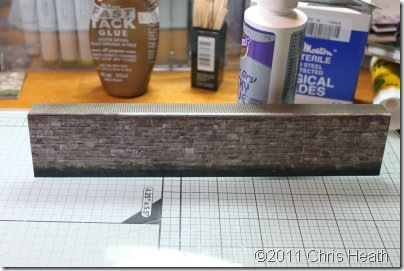
After the pilings come the quay walls. Again you have a choice of either Stone, Concrete or Brick to suit your needs. I chose the stone as it is similar to the quayside at Seaham Docks where I work. It’s just print – stick- cut out, how easy.Img_9035There is a choice of quayside of either Cobble Stones or Oil Stained Concrete. You guessed it, I chose the Cobbles.This is just a sample piece, the full size is just short of A4. So quite easy to cover a large area.

Img_9037Next it’s just a butt joint to the wall and the quay.

Img_9038

Here comes the interesting bit. You have an option of building into the wall some steps. Very effective I think you’ll agree. I have built the steps but I did not put it on the finished model, as I said before, this is just for a display at the toy fair on Saturday. The completed set will go onto Wynyard Lane Dock at a later date.

Img_9040

Img_9039

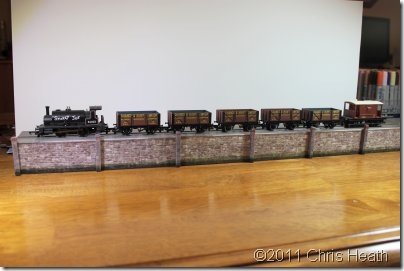
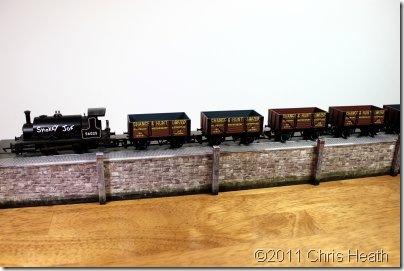
Here is my finished effort I put together for display purposes. Very effective I think.

Img_9034

Img_9031As you can see I have inset the track under the cobbles for an authentic Quayside effect.

Img_9030

You can see the finished display at the NEDCC toy fair at Chester le Street on Saturday if you are coming.

I haven’t decided what I am building on Saturday yet. Better get a shifty on.

Until then…….

Chris

Tuesday 11 October 2011

N.E.D.C.C

The North East Diecast Collectors Club is holding a Toy Fair on Saturday 15th October. The venue is North Lodge School, North Rd. Chester le Street, County Durham DH3 4BB.(Between the Lambton Worm and the Barley Mow Pubs)

The Fair will be open to the public from 10:00am until  3:00pm and admission is only £1 for Adults and 50p for Children and OAPs.

Along with the Toy Fair there will be a display by the North East Meccano Society, (well worth a look) and a Vintage Vehicle Display(Full size, not models!!)

I am also popping along to display some of my scalescenes models and demonstrating building a model.

Hope to see you there…….

Chris