
The
next project has finally landed. It’s the T021b Add on House Facades for the
previous T021a Three Storey Row of Shops from Scalescenes. Just to be clear
from the start, you will need to have
previously purchased the T021a kit, to use these facades.
They are designed to transform the row of shops into
houses.
To start these houses you need to construct the main
carcass of the shops, but leave the B1 and B2 shop fronts off. The process of
how to build the carcass can be found in the previous post to this one. The
only exception to this kit from the original is, you will need to replace the
centre walls off the old kit with the ones in the new kit. This is to
accommodate the longer Drainpipes.
 |
 |
Now
it’s time to construct the gable end wall. Firstly cut out the base layer for
the row end. The cover it with your choice of Row End cover layer.
 |
 |
 |
 |
 |
|
Next,
cut out the base and cover layers for the Upper Ceilings B1 and B2 End. Lay the
cover layers print side down and squarely glue the base layers over the top.
Tightly wrap and glue the flaps in place. Once the glue has dried, using a
fresh sharp blade, cut out the grey hatched sections. Using a black marker pen,
touch up the cut ends of the Gutters. Test fit and glue the completed B1 and B2
Upper Ceilings into place.
 |
 |
 |
|
Once
you have built the amount of house you require, you need to establish how you
are going to end your row. You can either have the corner shops on each end or,
you can have a flat gable wall option. I’ve opted to build a row of six house
with a converted corner shop on one end and a derelict gable wall at the other
end.
 |
|
Now
complete the build as before for the rest of the carcass. As previous post,
i.e. complete the roofs.
 |
 |
Now
that you have your row at this stage, next, it’s time to construct the house
facades.
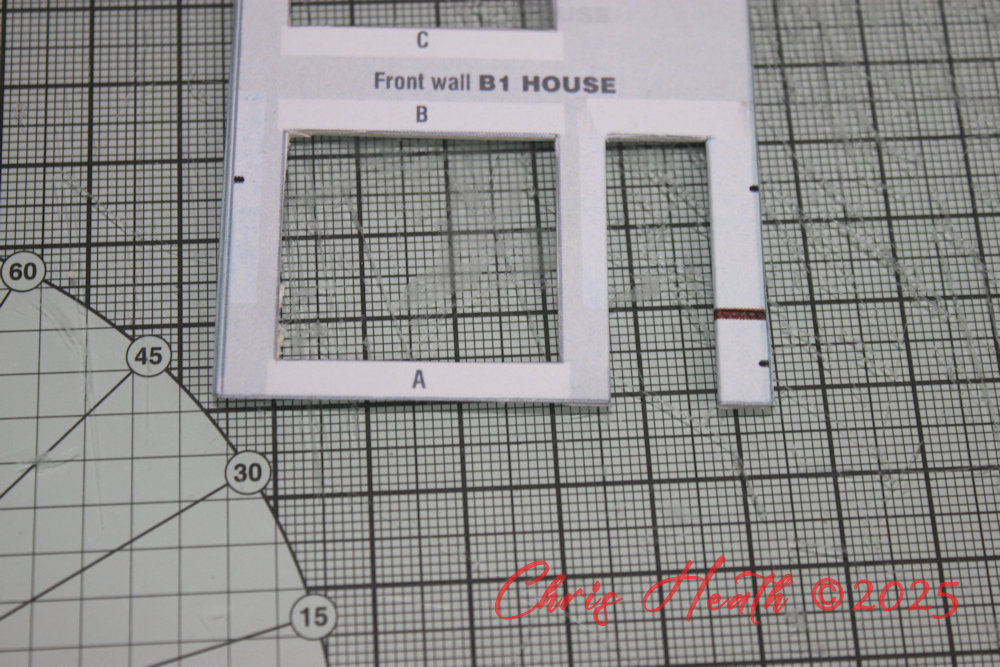
Start by cutting out the B1/B2 cover layers and glue them
over their corresponding base layers. Then wrap and glue the window openings.
 |
 |
Cut
out and glue into place the Window Sills next.
 |
 |
Cut
out the Bay Window openings next..
 |
|
Next,
cut out your choice of windows and glue them into place. I’ve used the
Scaleglaze 1 option. Once the windows are all set in place, cut out some
curtains and glue these into place.
 |
 |
 |
|
While
the glue sets on the windows/curtains, cut out the Bay Window supports A next
and glue them into two blocks of two. Repeat for Bay Window supports C and B.
Also cut out Bay Window supports D and glue these into a block of three.
 |
 |
Starting
at the bottom, glue into place Bay Window support A, followed by B, C and D.
Set the front to one side to dry.
 |
 |
 |
 |
Next
cut out the glazing for the bay windows and lightly score down the red dotted
line. Introduce a slight angle. Then glue the window into place over the
supports. I tried the first time with the Scaleglaze option, but to be honest,
I found it much easier with the windows supplied with the kit. The Scaleglaze
were a little too fiddly for my huge fingers.
 |
 |
Now
let me show you how I managed to get the crease for the columns straight and in
the right place for the Bay Window cove layer. Firstly cut out the cover layer
as in the below picture.
 |
|
Before
you cut out the window openings, cut where the blue fold line is, then flip the
cover layer over and using the fold line cuts, fold the cover layer back on
itself. When turned back over, the folds should be perfect.
 |
 |
Now
you can continue to trim the excess pieces off and cut out the windows
openings. This should have given you perfectly folded window columns.
 |
 |
 |
|
Next,
carefully glue the cover layer over the Bay Window base. Then wrap and trim the
excess pieces off.
 |
 |
 |
|
Cut
out the Bay Window Gutter base and cover layer next. Then wrap the cover over
the base and then glue into place on top of the Bay Window.
 |
 |
 |
 |
Next,
cut out he Bay Window roof supports and glue them into place between the two
light blue lines on the gutter base.
 |
 |
Cut
out the Bay Window roof next and lightly score down the red lines. Test fit and
glue the roof into place.
 |
 |
Next,
cut out and glue into place the roof ridge capping.
 |
 |
Cut
out the Bay window ledge next and glue into place. Trim the excess off.
 |
 |
Next,
cut out and glue into place the Bay Windows and Door Lintel into place.
 |
 |
 |
|
Cut
out your choice of curtains for the windows next, and glue them into place.
 |
 |
Choose
a door next and glue squarely into place.
 |
|
Next,
test fit and glue the completed facade into place. Then cut out and glue into
place the Front Wall Ledge into place.
 |
 |
And
that’s it for this one. Only five more to do.
 |
|
And
as if by magic (if only it was that simple!) here are the other five facades in
place.
 |
 |
 |
 |
I’ve
waited a long time for this kit, and it was well worth the wait as usual.
Scalescenes have turned up trumps again. I will eventually put the
chimneys on and the garden walls in place. But for now, I need a break.
Until Next Time……….
