Right, this is it. I’ve finally managed to get to the end
of this epic kit from Scalescenes, the new T004 Shops on a Slope. This kit
was an eagerly awaited kit by many in the Scalescenes community, and despite
the long wait, it hasn’t disappointed. It has a variety of new facades which
adorn sturdy, common shop buildings. So here is the process of build into the
final facade. It is Facade A5.
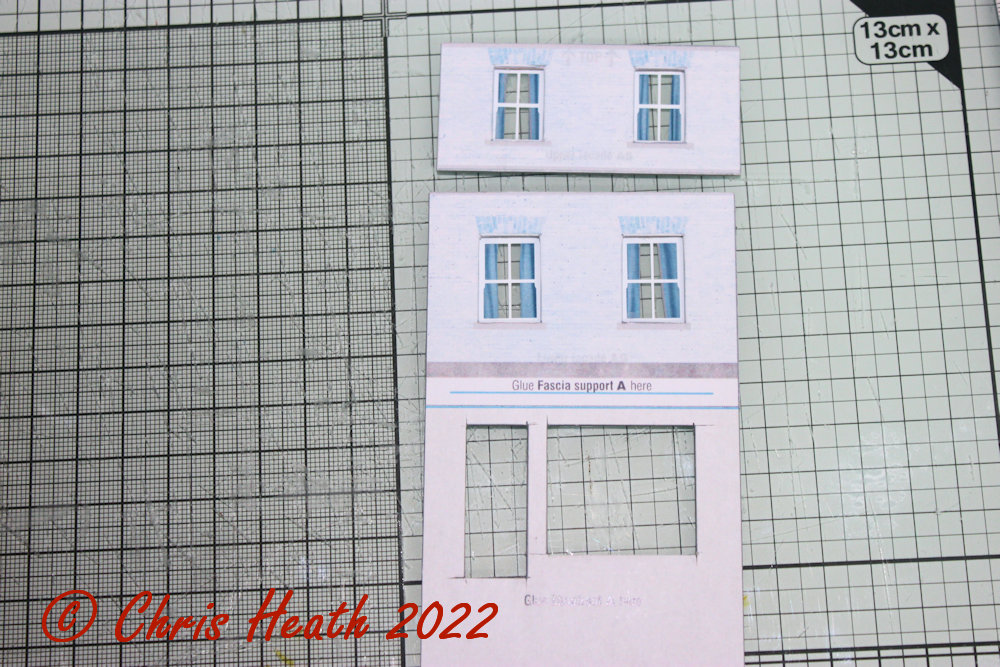
It starts, as with most of the other facades, by cutting out
both the Base and Cover layers and carefully gluing the cover layer over the
base layer. Then gut out and glue into position the Sills.
While the glue is drying on the facade, cut out the
windows. As you can see, I’m using the Scaleglaze option again. Glue the
windows squarely into the window openings. It’s at this point, you might want
to add some curtain detail.
Next, cut out your choice of Shop Overlay and glue it into
place.
Next, carefully cut out the Brick Band 1. I done this in
two stages. I cut it out without cutting the saw tooth detail. Then with a
fresh sharp blade, I cut out the fine detail. Once it’s cut out, colour the raw
edges with a brown marker pen. Test fit and glue the Brick band into place on
the top floor. It looks odd at the moment but, it will make perfect sense
shortly.
The recessed doorway comes next. Start by cutting out all
of the elements for the doorway. Glue the two entry walls back to back. Then on
a level surface, glue these along with the shop entry ceiling to your choice of
door. Once the glue is dry, glue into place in the shop. As you can see, I’ve
filled this as a butchers shop. Then glue the tiled entry floor into
place.
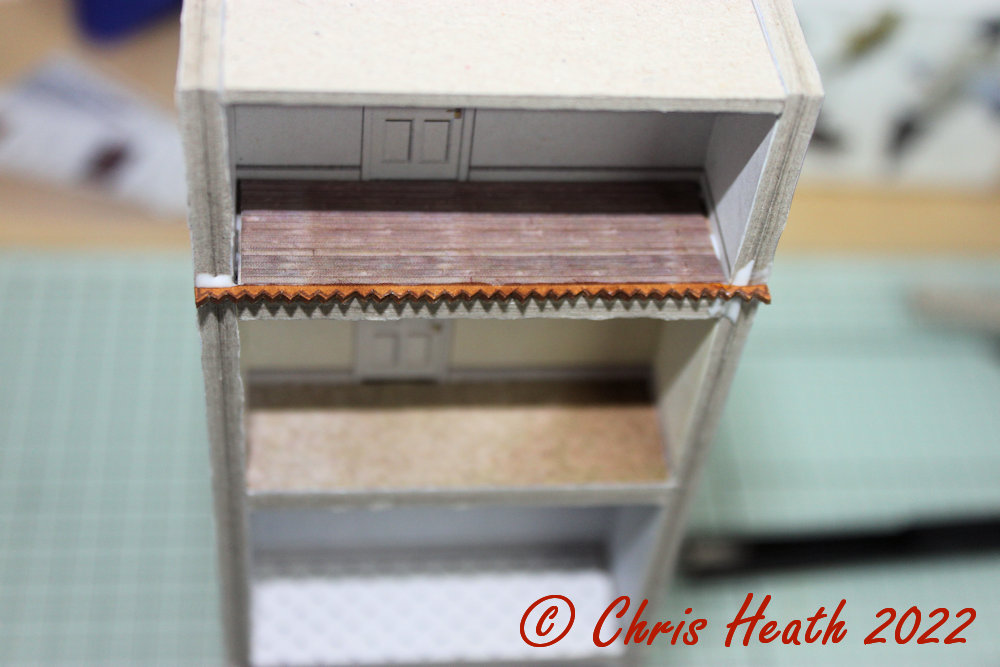
Next, glue the lower facade under the brick band and the
upper facade above the brick band. Sorry I forgot to take a picture, but as
long as the lower and upper facades are tight against the brick band, it will
be good.
Next, repeat the process of cutting out and colouring the Brick
Band 2. Then glue it into place on the top of the upper ceiling.
Now you need to carefully cut out the Brick Bands 3 and
glue them into place above and below the Brick Band 1 and below Brick Band 2.
Glue the Gutter Edge over the Gutter Base layer next. Then
glue it on the top of the structure. Making sure it aligns with the back of the structure.
Next, cut out and glue together Roof supports 2. While the
glue dries, cut out Roof support 1.
Lying the structure on a level surface, glue the Roof
support 1 into place on the back edge of the gutter. Then glue the Roof support
2’s on each end.
The roof is next. Cut out the Roof and the strips of roof
tiles. Starting at the bottom, use the numbers as a guide, and glue the
corresponding strips onto the roof base. Once all of the strips are in place,
trim off any excess from the edges. Then test fit and glue the complete roof
into place.
Cut out and glue into place the Ridge Capping next.
Next, cut out both the Buttress base layers and their
corresponding cover layers then wrap and glue the cover layers around the base
layers. Once wrapped, cut out and glue into place your choice of Buttress
Tiles. Then glue the completed buttresses into place.
Time to make the shop sign. Cut out Fascia A base layer
and the Fascia A cover layer. Wrap the cover layer around the base layer.
Choose which shop sign you want and glue into place on the Fascia. I’ve gone
for one of the editable signs for this shop. In case you’re wondering, it’s a
family butchers shop in Thirsk, North Yorkshire, which my family started to use
back in the 1970’s and has since closed down in 2022. They made the best
homemade pork pies I’ve ever tasted. Fit the complete sign in place.
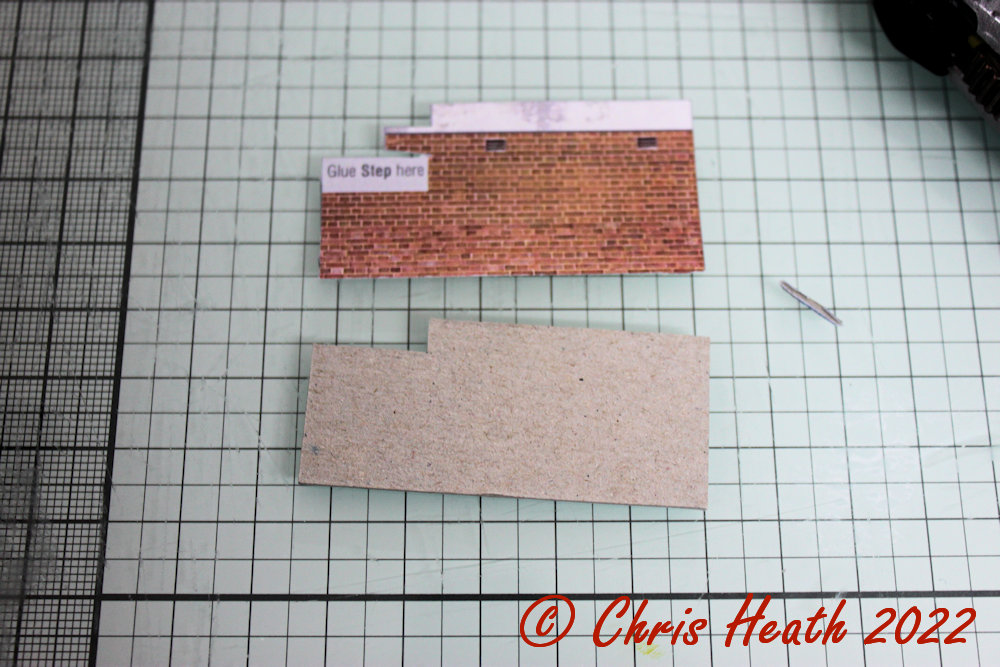
Choose you Plinth Cover layer next and glue it over the
Plinth Base layer. Cut out and glue a Step A into place. Test fit and glue the
complete plinth onto the shop front.
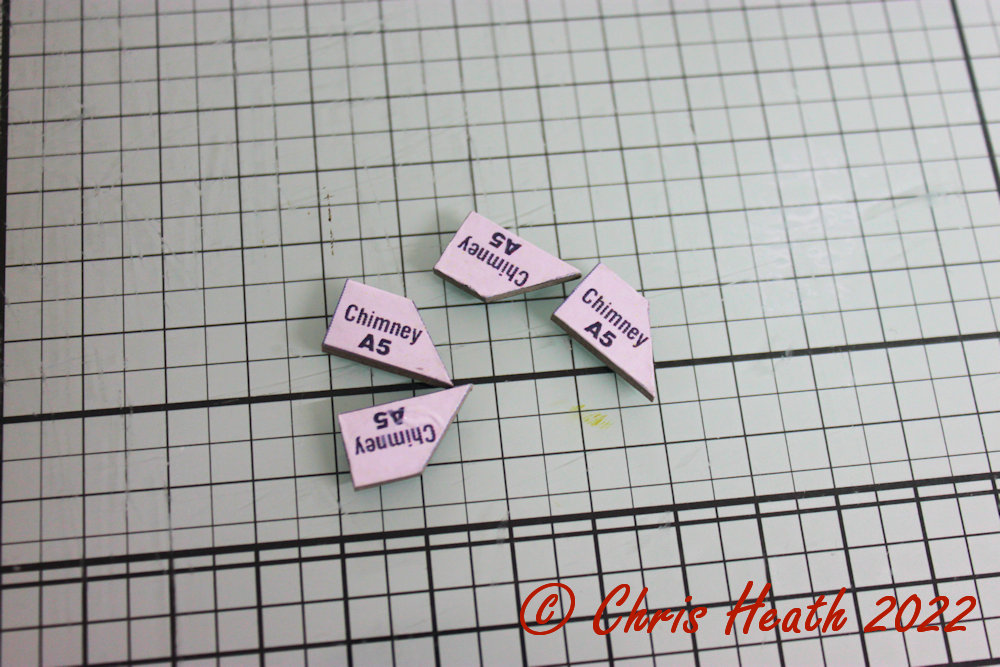
Next, cut out and glue into a block of four the chimney
base layers. While the glue dries on these, cut out the Chimney cover layer and
the elements for the Chimney cap. Wrap the Chimney cover layer around the
Chimney base. The wrap and glue the Chimney capping on the top of the Chimney.
Add you Chimney Pot if you have one. Then glue the completed chimney stack in
place on the roof.
And the final job on this kit is, cut out and glue into
place the Side wall Overlays.
And that's it, I’m calling this one done.
And that’s it. The last of the Facades in the kit done!
I’ve really enjoyed building these shops. The thought of them being on a slope
was a bit daunting at first, but I can honestly say “they couldn’t have been
easier” If I can do them, I’m sure you could. They haven’t got a place on a layout
just yet, but I’ll try and put them in situ with the retaining wall and take
some pictures.
Until Next Time………..