Wednesday 21 March 2012

Gantry Crane Hand Rail…………

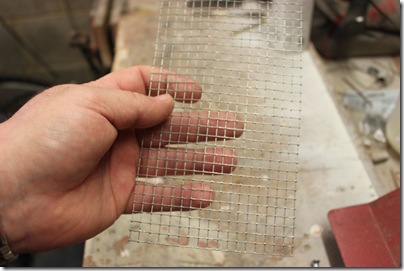
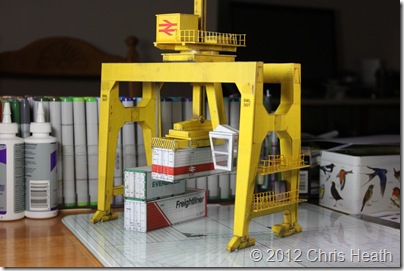
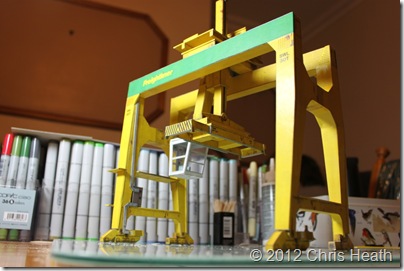
I’ve been asked by a couple of of people about the hand rails that I used on the Gantry Crane and where I got them from. Well I can tell you that I have cheated and not used a model handrail. It is made from a mesh bird feeder bought from a Pound Shop. I first used the idea for the Cargo Ships handrails. It is so easy to do, and you get loads for a £1. I’m sorry I haven’t got a picture to show you what the feeder looks like, but I think you know the ones I mean. The ones that you fill with nuts and hang from the bird table.

Once I took off the top and bottom, I was left with a cylinder of mesh which I opened out to have a flat sheet of mesh.

IMG_9656

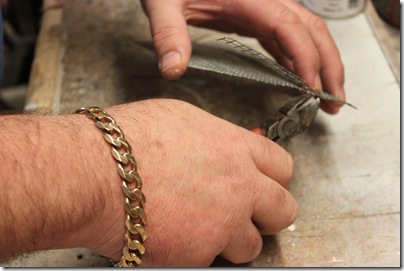
Next using a pair of cutting pliers, cut off a strip the edge.

IMG_9653

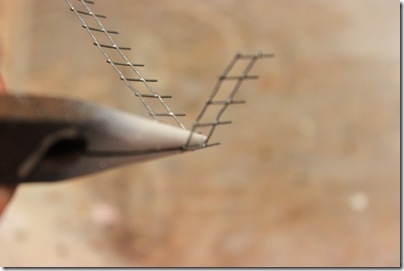
Once I’ve measured how long the piece needs to be, I can the start to shape the hand rail with a pair of pointed nose pliers into the final shape needed for the handrail.

IMG_9660

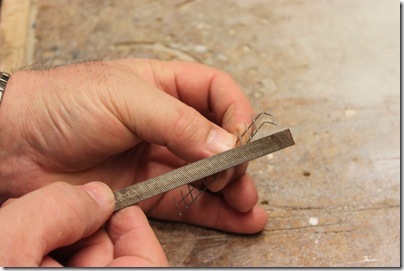
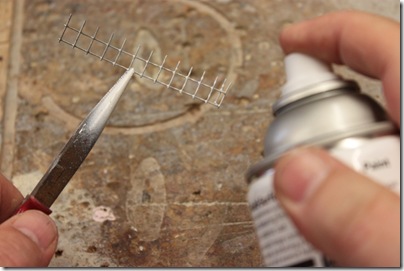
By cutting the mesh with pliers I was left with a sharp edge along the length of the handrail. This is easily rectified by using a fine toothed file to smooth off the sharp edges. This also give a better looking handrail.

IMG_9657

I didn’t have any yellow paint to paint the handrails, so I had to paint them white.

IMG_9661

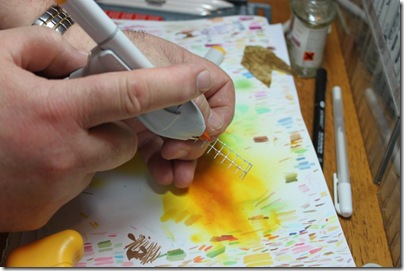
This worked to my advantage as I got to use my Wife Jak’s air brush and her vast collection of Copic pens. This worked well, as I didn’t end up with a solid colour, that I would have if I sprayed with yellow. But I used different shades to build up weathering. It looks brilliant.

IMG_9663

I hoped that this has answered your questions and has given you some ideas on how to make a hand rail.

Until Next Time……………

Chris

Saturday 17 March 2012

I’m Not A Happy Chappy……………

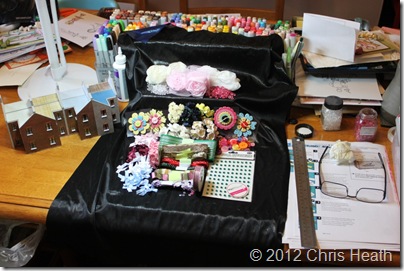
I came in from work last night only to find my work space had been taken over!! I have one corner of the table that both my Wife and I share, but apparently that’s too much. She’s taken all of it now. She had to take some pictures to take of some freebies that she is giving away on her craft blog jakheath.com so she only used MY SPACE. I think she thought she would have it all put away and my space put back to normal before I got in, but I caught her.

IMG_9644

Thankfully all has been moved back to her side now, and peace has been restored in the Heath household.

Until Next Time………….

Chris

Thursday 15 March 2012

Corrected Gantry Crane………….

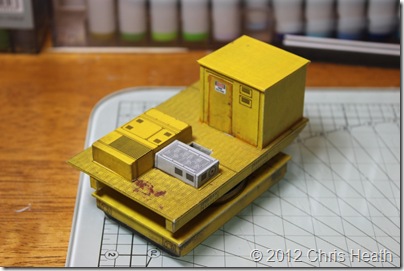
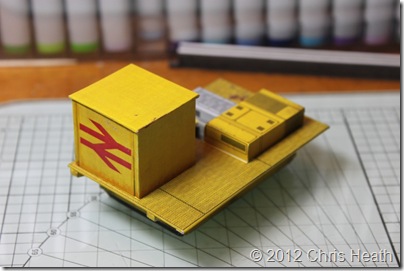
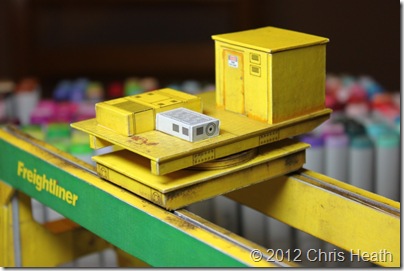
I have to let you know that I was corrected by John Wiffen, the clever guy form scalescenes. He very kindly pointed out that I had made a school boy time period error. The bridge beam I had used with the “freightliner” livery and the “BR” logo on the plant room were from two different periods. In my defence, you may or may not know, that I have only been modelling for just over a year, so if anyone sees anything that shouldn’t be, please let me know.

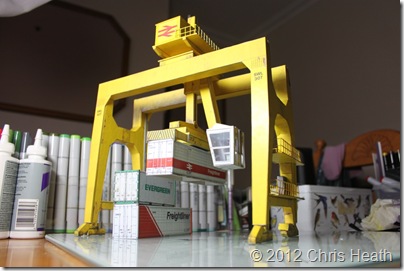
So, as soon as I could, I replaced the bridge beam cover to bring it back in line with the BR period. I also managed to get the hand rails painted and fitted. I think they set it off really well.

IMG_9633

IMG_9635

Until Next Time…………

Chris
Saturday 10 March 2012

Finished Gantry Crane…………

Well as I promised myself, I got the scalescenes Gantry Crane finished for the N.E.D.C.C. Model Fair at Birtley today. Granted it’s not completely finished as it needs the railings around the top and  around the walkways. I set to last night to try and do these but the time got the better of me and I only managed to get them made and not painted, so I left them off for now and I will put them on tomorrow.

Here is how the Crane came to be complete.

IMG_9574

IMG_9579

IMG_9580

IMG_9582

IMG_9583

IMG_9584

IMG_9585

IMG_9586

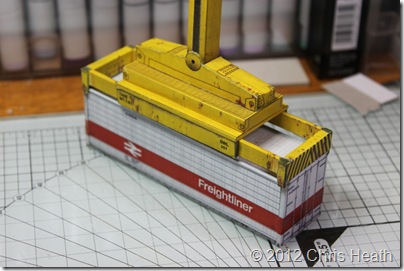
That’s the head gear sorted, next is the container and spreader beams and the lifting gear.

IMG_9594

IMG_9595

IMG_9598

IMG_9603

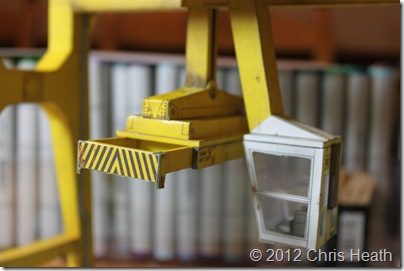
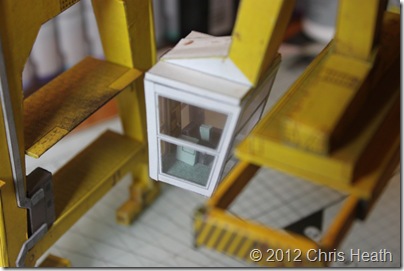
And finally the Drivers Cab.

IMG_9610

IMG_9614

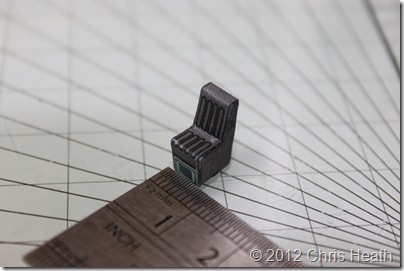
And how big is this seat please!!!

IMG_9607

Lets see it in all it’s glory.

IMG_9615

All said and done I’m well pleased with this Gantry Crane. When I first saw it I thought it would be very flimsy, but the total opposite is more like it. It is so rigid and strong, it is a great sturdy piece of kit.

I’m sorry but I don’t have any pictures from the Fair today, as I forgot my camera!! A big thank you to all of you that came along to say hello.

Until Next Time……….

Chris
Monday 5 March 2012

N.E.D.C.C. Fair………

Just a quick note to give you the details of the N.E.D.C.C. Fair (North East Die Cast Collectors) being held on Saturday 10th March 2012. If the last time I was there is anything to go by, you will be in for a treat. It is been held at North Lodge School, North Road, Chester Le Street. DH3 4BB. Doors open at 10:00hrs and the event closes at 15:00hrs. Admission is only £1 for adults and 50p for children an OAP’s. If you would like more information on future events by N.E.D.C.C. Fairs go and visit their web site at http://nedcc.co.uk/page1.html

Pop along and let me know you follow my blog, it would be nice to meet you.

Until Next Time……….

Chris
Sunday 4 March 2012

Gantry Crane Update………..

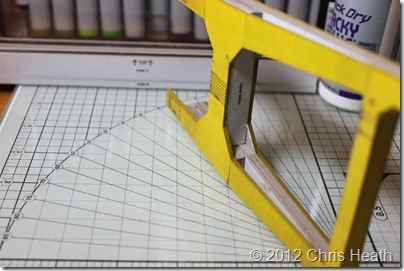
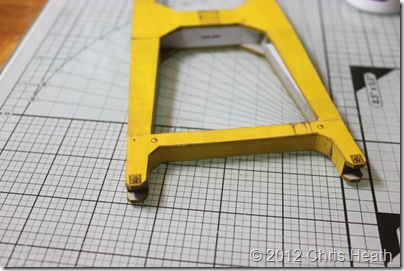
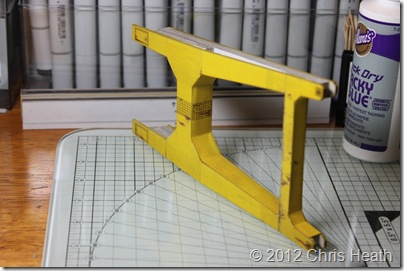
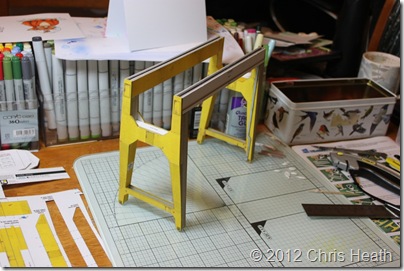
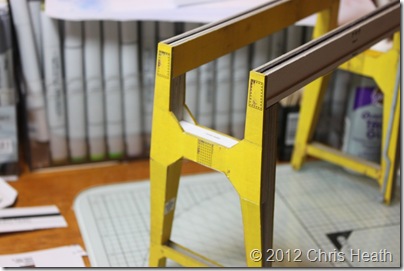
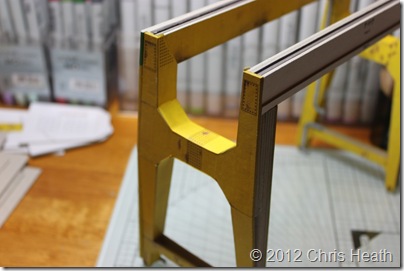
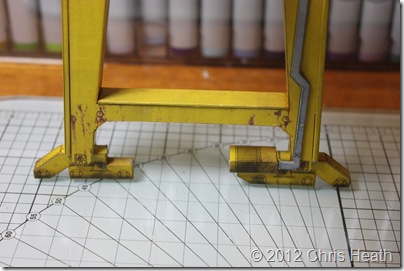
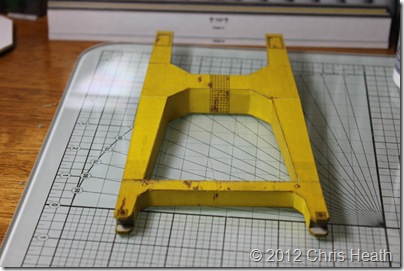
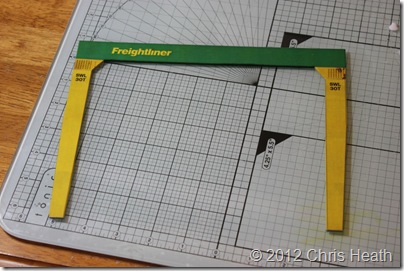
I got back from my trip to Liverpool on Thursday night to late to go to the Fire Station. So I had a great opportunity to sit at the table, relax and make some progress on the T017 Gantry Crane from scalescenes. This project has reminded me of the T030 Cargo Ship, in as much as it is a very technical build. Unlike most of the builds like houses shops and the like that are similar in construction to start with, this one is good for getting the grey matter thinking. At first glance it looks very flimsy or fragile, but due to its very clever lamination and integral strengthening, it is deceptively strong and sturdy.
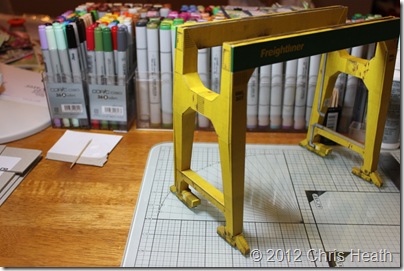
Anyhow less rabbiting on let’s have a look at the progress so far.

IMG_9551

IMG_9552

Along with the lamination, there is some brilliant cover pieces that help with the strength.

IMG_9555

IMG_9556

Well that’s one done, what’s next? Oh yes, another one. At least once I have two, it will all start coming together.

And as if by magic, I have two!

IMG_9558

IMG_9557

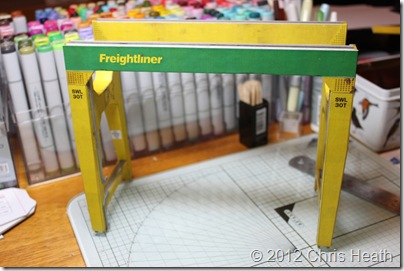
Once the top beams are in place it all starts to come together, and you feel as if you have achieved something. I know the next picture looks similar to the former, but it is showing the covering pieces that make the structure look like a solid lump of engineering.

IMG_9560

I have opted for the Freightliner livery, as it is the oldest one available out of the three that are supplied with the kit.

IMG_9559

IMG_9561

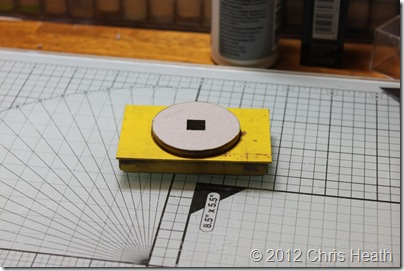
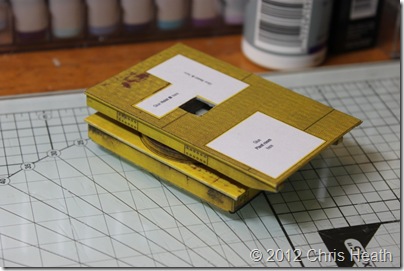
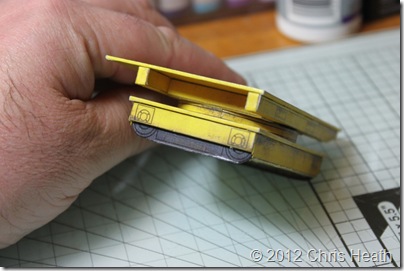
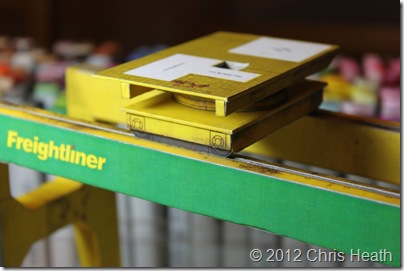
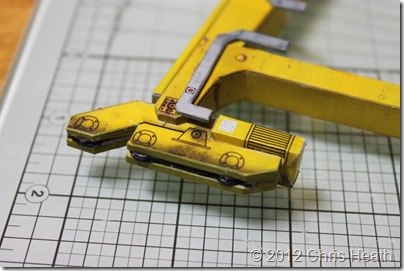
Now that the main structure is in place, the clever stuff starts. Each corner or leg gets it’s own bogey. These are so small but so effective. I had to get my wife Jak to help me cut these little blighters out, as I was struggling to cut out the fine detail with my sausage fingers!

IMG_9563

IMG_9565

IMG_9562

So that’s how far I’ve managed to get so far. I’m hoping to have it finished for next weekend, as I have a show to do at Birtley and I would like have the finished Crane to show off. I will post in the next couple of days with the details of the show, just in case you fancy popping by and saying hello.

Until Next Time…………

Chris