Saturday 29 December 2012

Low Relief High Street Backs Part Three………….

I know it’s been a while, but I think I’m back on track (Pardon the pun) It’s been a busy old time at work and what with the run up to Christmas, I haven't had much time to craft. And when I did get the time, I sliced off the end of my thumb with a food processor blade! OUCH. But hopefully normal service has been resumed now my thumb has healed.

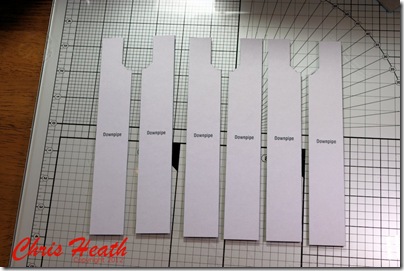
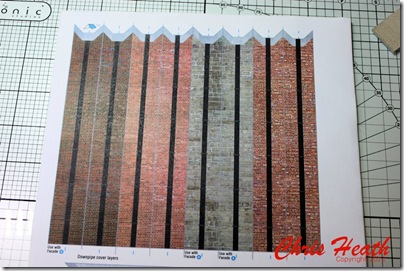
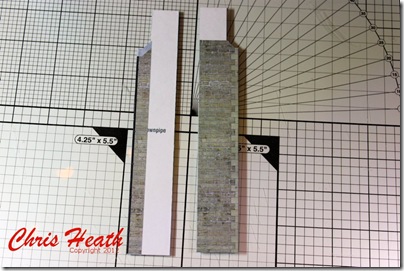
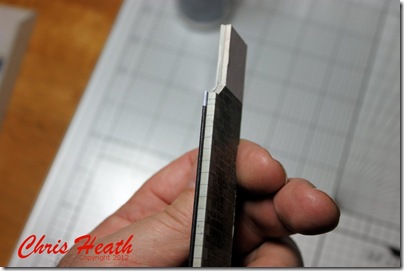
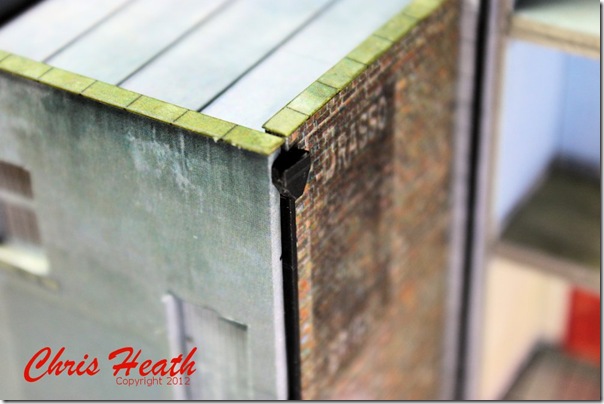
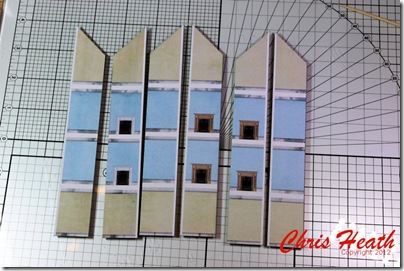
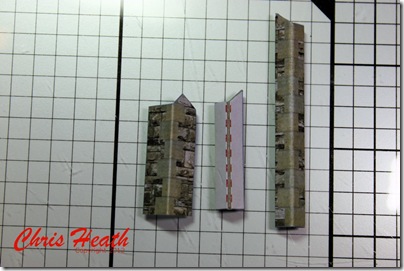
Where were we up to? Oh yes, drainpipes. Believe it or not there is a lot of work goes into the humble drainpipe. Each drainpipe is an individual element and not just printed on the wall.

IMG_0900        IMG_0901

Once couple together with a gable end, you have a very effective drainpipe.

IMG_0910        IMG_0912

And when put together with the carcass.

IMG_0913

Apology time. I accidentally wiped the memory card of my camera with he pictures of the first façade I made, so there is a bit of a jump to where I am up to now.

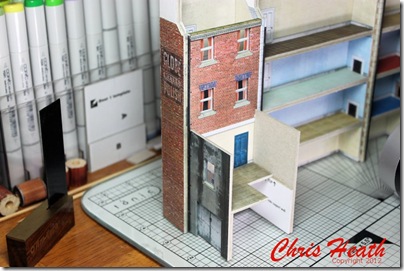
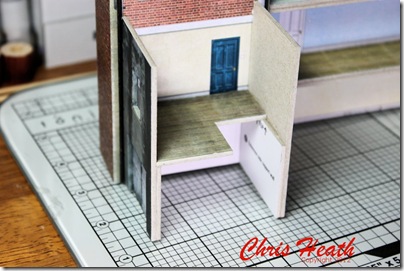
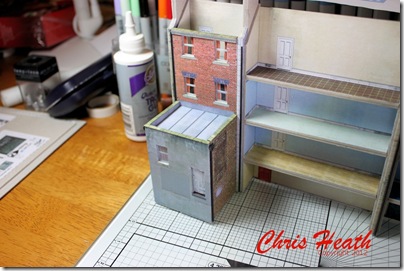
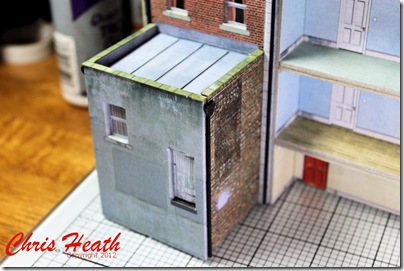
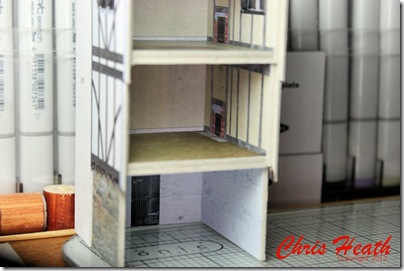
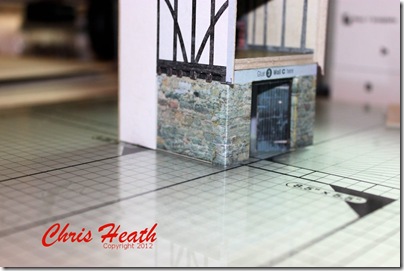
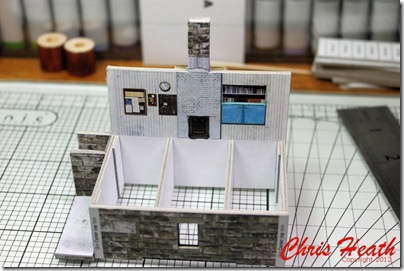
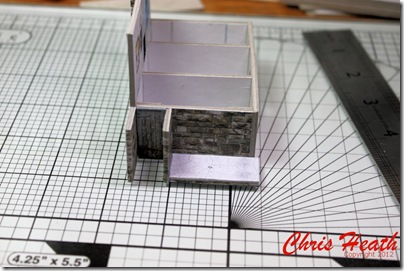
The first of the units has a low rise extension attached to the façade. True to scalescenes it’s not just a box stuck on the back. There is as much detail in the extension as there is in any of the scalescenes build.

IMG_0916        IMG_0917

Once all the walls are put into place, then the fun starts with the fine detail.

IMG_0929        IMG_0930

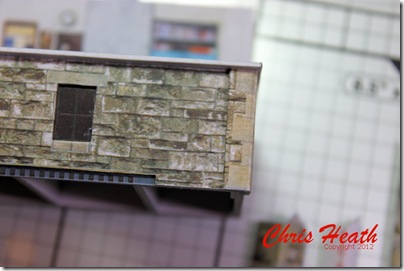
I really enjoy all of the fine detail. It gives the building real character.

IMG_0931

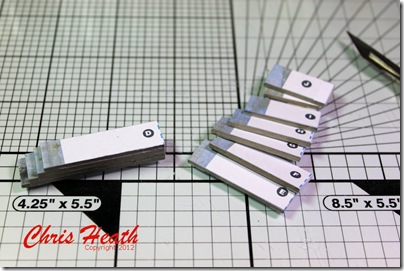
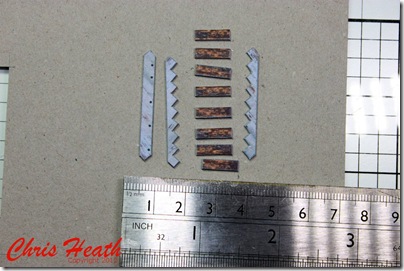
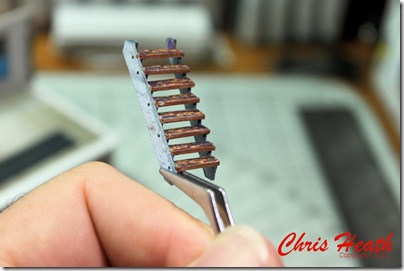
Next comes a little time consuming bit. Can you tell what it is?

IMG_0926        IMG_0927

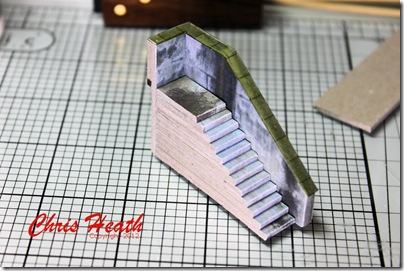
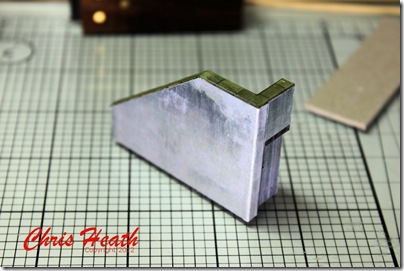
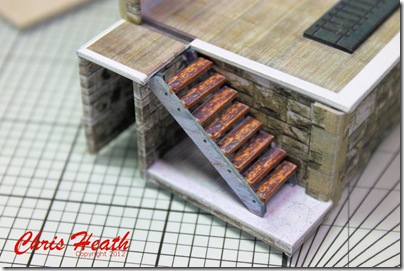
Did you guess? That’s right, it’s a set of steps for that floating door on the extension.

IMG_0932         IMG_0939

IMG_0938

The next post I will show the finished first façade in all it’s glory.

Until Next Time……………

Chris sig

Sunday 25 November 2012

Low Relief High Street Backs Part Two…………..

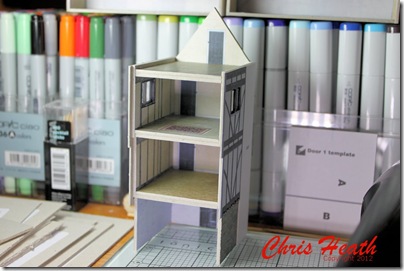
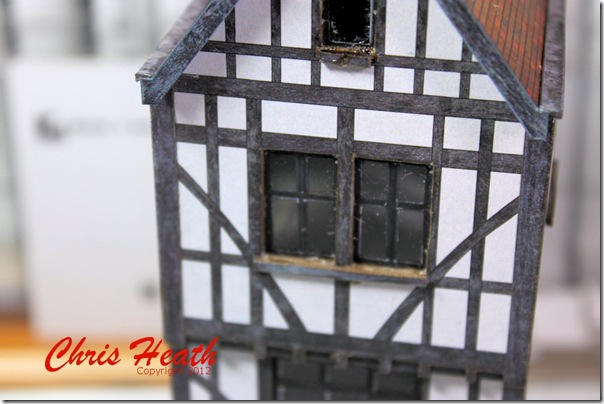
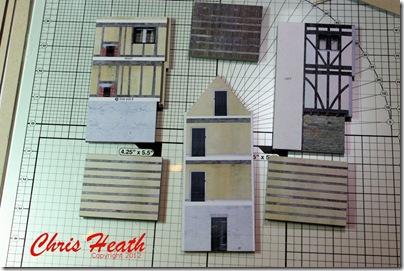
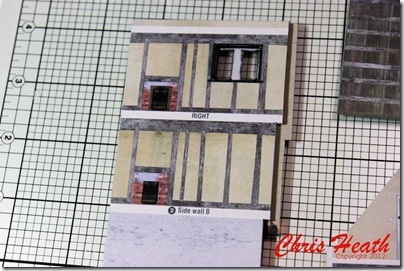
Here is the next stage of the R005a Low Relief High Street Backs from scalescenes. I have completed the other three carcasses, the other large one and the two smaller ones required for the four backs. The next step went a bit out of sync I’m afraid. I started to build the carcass for the odd ball element of the kit, which is the Tudor style building. For all it is a bit fiddly for me with fingers like pork sausages, I do like this part of the build. The level detail incorporated into such a small piece work always astounds me.

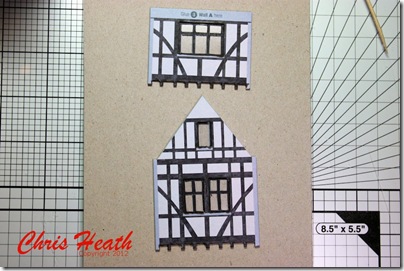
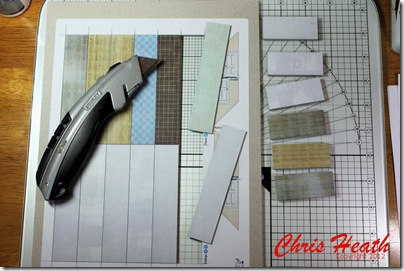
So while I was in the mood and had piece and quiet, I set to and cut out all of the sections needed to complete the entire building.

IMG_0882        IMG_0883

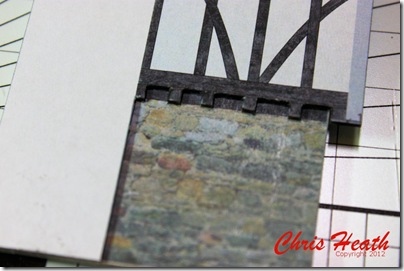
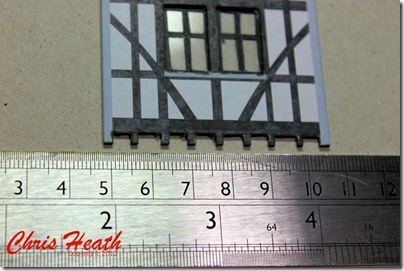
Yes, it may be a pain in the derriere for me to cut out, but you have to agree that the results are just stunning. Like I said earlier, the detail that goes inside all of these buildings that nobody will ever see is a crying shame. Once the layers are put together on top of each other, this is when you start to see the model come to life.

IMG_0884        IMG_0891

IMG_0892

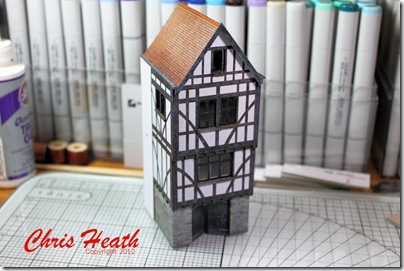
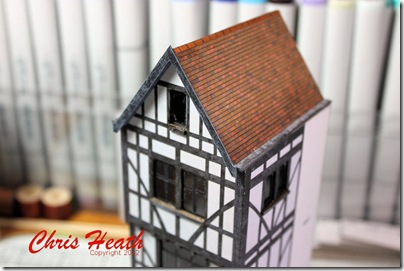
Unfortunately this is where it all went to pot. Instead of just building the carcass. I’m afraid I got carried away and completed the whole building.

IMG_0887        IMG_0890

The door and wall section for the front went on and it is very clever. I challenge anyone to spot the join between the front and side wall.

IMG_0897

It was a case of, I’ll just put this bit on, and that led to maybe just try this bit in place to see what it looks like, and before I knew it, it was finished.

Whoops!

IMG_0902         IMG_0903

I just love the fine detail. Even down to window sills. And don’t forget, these buildings are all downloaded from the internet and printed off on your printer!

IMG_0905

Right, get back on track and follow the instructions in order! The next step is to, believe it or not, build the individual down pipes for the other four buildings. This you will see in my next post. That’s if I can follow the simple instructions and not get carried away again.

Until Next Time……………
Chris sig

Monday 19 November 2012

Low Relief High Street Backs………….

Well I’ve finally started the T005a Low Relief High Street Backs from scalescenes. What with holidays, work and family commitments, I’ve not had much time for myself, let alone time to sit and build a model. But things are now back on track and I’ve got my head  down and my knife out.
The Low Relief High Street Backs are a stand alone unit or can go together with the T005 Low Relief High Street to make a complete building.
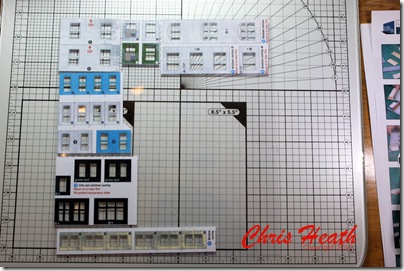
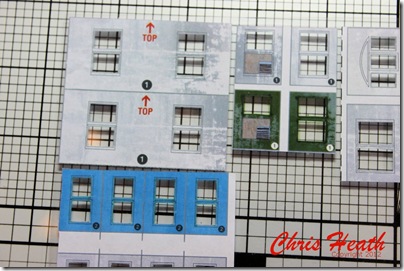
First task is to cut out all of the windows and stick them to some thick acetate. I find so easy to complete this task, as I print them onto self adhesive labels and this makes it easy to fix them to the sheet without getting glue all over the acetate. There is a sheet of windows that can be printed straight onto a sheet of OHP film, but my preference is to use the acetate and labels.
IMG_0872             IMG_0873
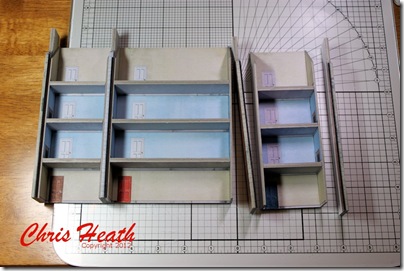
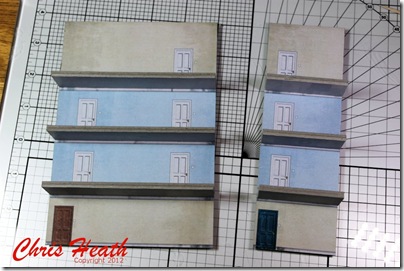
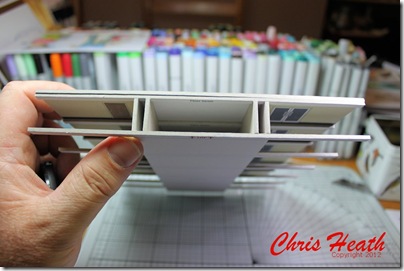
The initial build is exactly the same as the Low Relief High Street. A simple, but sturdy carcass forms the base. The floors and ceilings are made out of 2mm board and then stuck together back to back.
IMG_0869
These get glued directly onto the backs.
IMG_0876
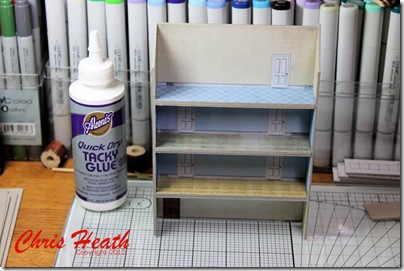
While the glue sets, you need to cut out the sides. Talking of glue, I’m often asked what glue I use. It is a Quick Dry Tacky PVA glue. Available at most craft shops or on line. You only need to hold the piece for a couple of seconds and it bonds. Not totally, but enough to keep it in place until it does cure.
IMG_0877
Again, these are 2mm thick and when glued to the floors and backs it makes the very sturdy carcass. (Oh, and that’s the glue I use).
IMG_0880
There is three more to build. One more large one and two smaller ones. There is a fifth one which is a little different, but I’ll get to that one later.
Until Next Time…………..
Chris sig

Sunday 7 October 2012

Finished Signal Box……….

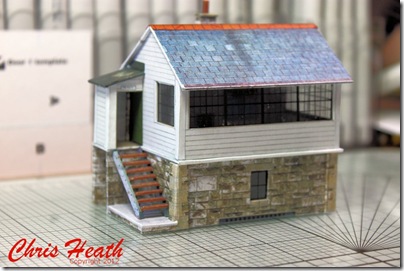
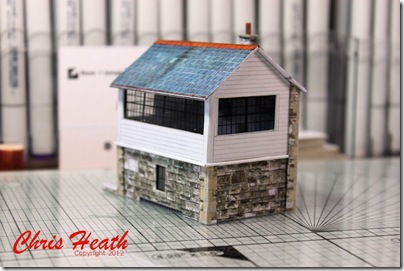
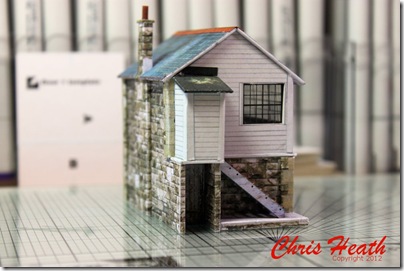
Just a quick couple of pictures of the completed scalescenes R010 Signal Box. I finished this build in double quick time for two reasons. Reason one the next scalescenes model, the Low Relief High Street Backs, was due to be released. And reason two, I’m off on holiday for a couple of weeks and wanted my desk clear for going away. I have the T005a Low Relief High Street backs all printed out and ready to go upon my return.

Anyway here is the Signal Box………

IMG_0821        IMG_0822

IMG_0823        IMG_0824

So, wish me Bon Voyage and I will see you in a couple of weeks with Low Relief High Street Backs.

Until Next Time………….

Chris sig

Friday 28 September 2012

Small Signal Box………..

Well, as promised I’ve  taken some pictures of the R010 Signal Box from scalescenes. It’s a simple little build and it’s giving me my daily fix. It should keep me going till the Shop Backs come out.

The wall finish which I opted for this time was Random Ashlar. The structure is basically a box, made up of four sides.

IMG_0797

Once cut out and glued together with the internal supports. It lends it’s self to be quite a sturdy structure.

IMG_0800

With addition of a small wall on the side and the base for the stairs.

IMG_0801 

To hide the raw edges, there are corner cover pieces. Simple but effective.

IMG_0806             IMG_0807

True to form there has to be a fiddly bit for me to attempt with my huge sausage fingers.

IMG_0810            IMG_0816

IMG_0818

Now that the stairs are complete and in place, the next section to tackle is the is the main windows and the roof. I have to get a wiggle on, as the new kit from scalescenes is due to come out on Tuesday 2nd October. Fingers crossed.

Until Next Time……………
Chris

Monday 17 September 2012

Just To Fill My Time In………
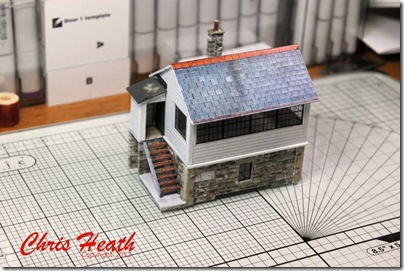
Just to keep my hand in, and to stop me getting bored whilst I wait for the latest release of High Street Shop Backs from scalescenes. I have decided to build the R0101 Signal Box. It is strange to say it, but I almost panic when I have nothing to build. I have to have something on the table, even if I have no time to do it, it has to be there. (OH NO! I have become a model junkie, needing a daily modelling fix!!)I know I should get up into the loft and get everything put into place but, I still have to wait a few weeks until it cools down a bit  up there. I still wish I had built in a Velux window into the roof so that I could have ventilation during the summer. 

I have started the signal box, but I’ve not had a chance to take any pictures as yet. Hopefully I will get some sorted over the next couple of days, and I will get them posted by the weekend.

Until Next Time……….

Chris

Thursday 6 September 2012

Block Of Flats……..

Well it’s been a very hectic three weeks in the Heath household, I can tell you. What with the Proms weekend at Castle Howard, the posh wedding of Jak’s boss at Matfen Hall and a rake of Fire Brigade courses. I told myself that I wouldn’t have time to do any modelling. Well I’m afraid I might have lied to myself. I just couldn’t walk past my table without picking up my craft knife. The only problem is, I didn’t realise how much I was doing, and before I knew it, there it was finished. Unfortunately though, I didn’t get may pictures.

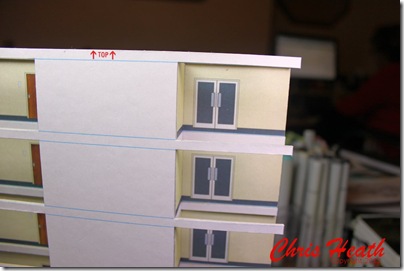
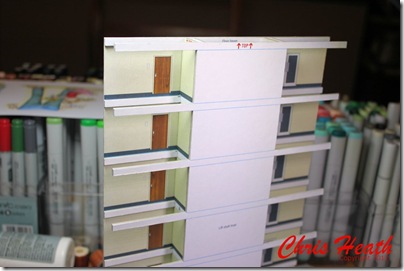
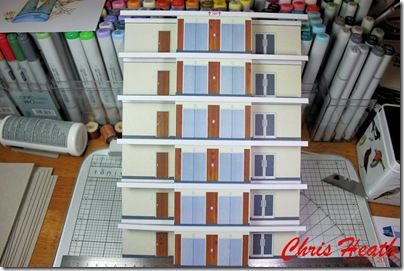
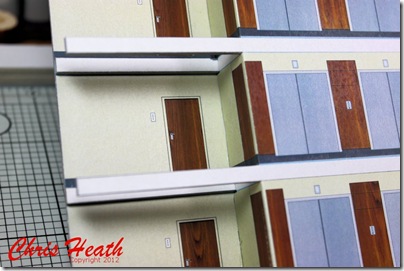
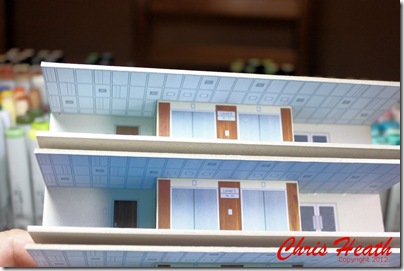
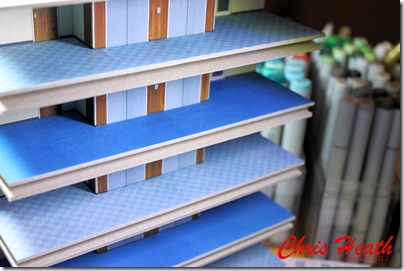
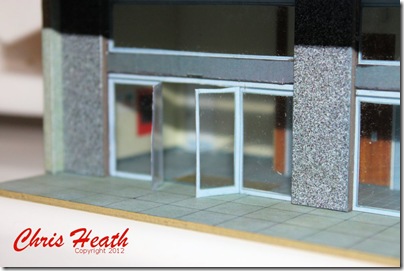
I wasn’t sure what I was going to build. The T007 kit that comes from scalescenes lends it’s self to few different options. You can choose from either a Hotel, a Hospital, an Office Block or just a Block of Flats. Because I didn’t think I wasn’t going to have much time on the build, I opted for the Block of Flats. I know it sounds a bit of a cop out, but it is the simplest option with not much interior detail.

As always the basic core structure is simple but strong and effective.

IMG_0398         IMG_0397

IMG_0394         IMG_0399

IMG_0402        IMG_0403

IMG_0404

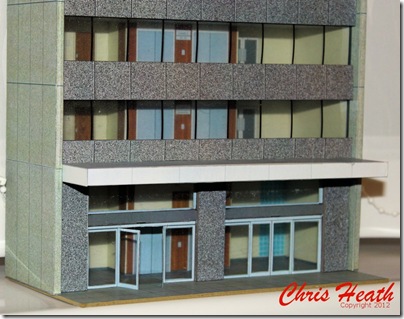
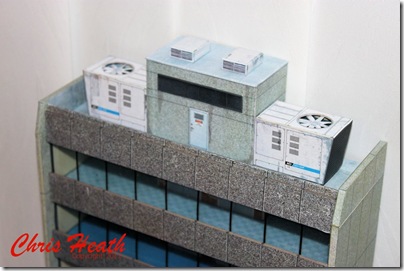
And I’m sorry but, the finished build.

IMG_0791

IMG_0792        IMG_0795

IMG_0796

So with the flats built and with a little more time on my hands, I am looking forward to the next release that is imminent from scalescenes. In the next few days, the much awaited High Street Backs. I can’t wait.

Until Next Time……….

Chris