


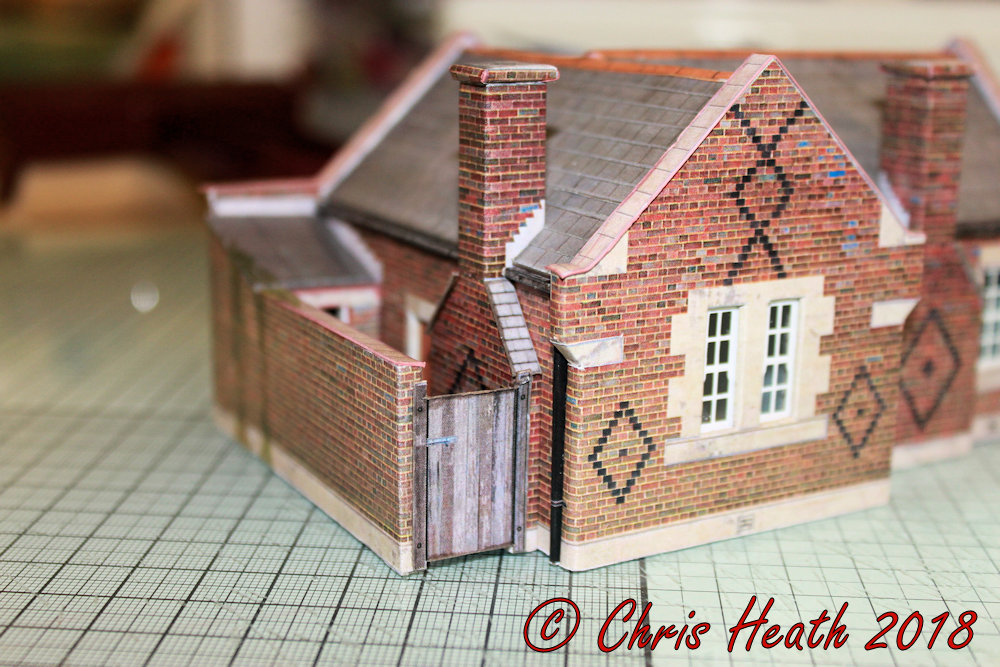
The extension is next. The walls are of the same construction as the rest of the building, two side walls, one with chimney built into it, and a gable wall.
When I fixed these to the main
structure, I wanted to make sure these were also square. The way I done it, was
to cut a scrap piece of card the same width between the two walls at the gable
end. So when I glued the walls to the main building, I use the same piece of
scrap card as a spacer to keep the structure square.


On with the ceilings next. These
also incorporate the guttering.


Once the
ceilings are in place, it’s time to construct the roof. Lots of rows of
slates.


The cottage has two roofs. The
transition between the two on this kit, has a simple but clever addition of
valley flashing.


The outbuilding wall is next. And there’s no lack of detail here either. Down to detailed door frames. And a piece that I personally like, is a baton gate.


Finally to put on all of the gable coping stones and the chimney capping, and that’s it.


I like this little cottage. It’s
got me back to my craft table. It hasn’t taken too long to build and it would
be a great kit for a beginner. It’s the first time I’ve used the Scaleglaze
windows, and I think they are a fantastic addition the Scalescenes
range.
I’ve got
the bit between my teeth again now, and my next project is to build another modern
cargo ship. As a general bulk cargo carrier. Watch this space.
Until Next
Time...........

No comments:
Post a Comment