
Time for the next instalment of the T029 China Clay Facility from Scalescenes. With the main frame of the building now complete, it’s time to start with the interior detail. It all starts at the bottom, where you would expect, with the floor. Because I took the time when putting the walls and sides together to make sure everything was square, I know that the floor is going to fit with no trimming required.

The bunker walls are next. Two sections of 2mm base glued together to make a sturdy 4mm wall. Wrapped in a cover layer to finish off all of the raw exposed edges.


Once again, make sure they are fitted nice and square.

It’s at this point you need to install any substance you are going to use for your product to be loaded. I’ve gone for Hearty soft air dry clay, it’s a paper product that isn’t too wet, which will not soak the card model. You can find out more here https://katysuedesigns.com/collections/air-drying-clay/products/white-hearty-air-drying-modeling-clay-200g.
Be mindful that when you fill your bays, that this product does shrink slightly. You can either infill the shrunken areas once dried or, I made a sacrificial set of bays out of scrap card, that were approximately 5% bigger than they needed to be. This meant that when the Hearty soft dried and shrunk, it fit into the bays of the model, no problem.

The loading bay edge is next. This incorporates a narrow channel just in from the front. This will become the running channel for the sliding doors. So make sure that once it’s in place, it is clear of any stray glue or debris. This will impede the sliding door operation.


The front walls are next. These are made up of three sections, a left, a right and you guessed it, a centre section. Again like the bunker walls, these are two layers of 2mm card glued together to make sturdy 4mm walls.


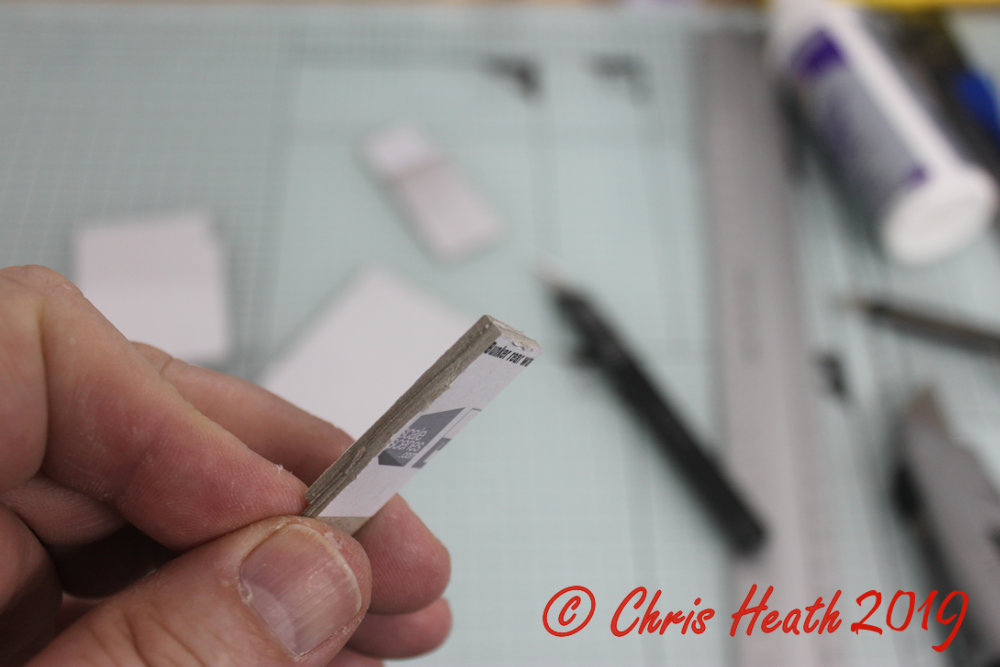
A top tip, when gluing two sections of card together which has a notch cut out for something to go in afterwards, glue two pieces of 2mm card together to make a spacer jig. This is the size of the slot in the wall, and will ensure when the glue has dried, the rafter will fit with no need for any adjustments.

The awning supports and down pipes are next. As always, the down pipes are incorporated into another element for increased sturdiness.


The main rafters are next. These made up of four sections, made into a sandwich to form a cleverly defined structure. These little beauties, for all I like them, took my 2hours to cut out. I know, it’s worth it in the end.


The awning supports get glued to the front wall now, and when complete, glued to the main structure. Be mindful that the bottom of the wall needs to be on the edge of the door runner gap.


Once the other side wall is fitted, two of the main rafters are put into place.


That’s where we are at the moment. The centre front wall will be next along with the doors.
Until Next Time...........

No comments:
Post a Comment