
Here we go with the last instalment of the Scalescenes LY02 Canal Wharf Box File. I’ve just the bridge to complete and the back scene to glue on, then it will be finished.
So let’s get a start. First of all prepare the edge of the box where you cut the opening, by adding an abutment.

Next, cut out and size to fit, the Arch B section. But don’t glue it into position just yet. You will need it to use as a template for the next layer.


Glue the background of the tunnel onto the box next.


Cut out the Arch A, and using Arch B resize to fit. Then glue together.

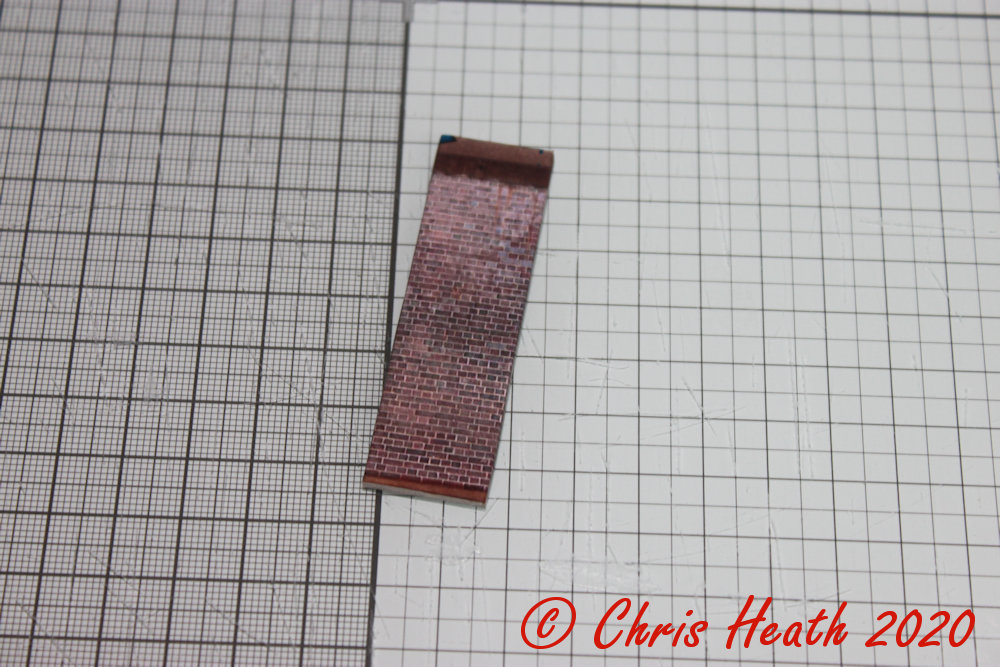
Next cut out the Voussoir Stones (Arch to you and me). Then glue to the arch and wrap and glue the tabs around.


Glue the abutment B and C cover layers next.

Then glue abutment A cover layer next, but don’t wrap all the way round just yet. This will get glued once the arch is glued in place.

Glue the arch into place on the box. Then wrap around the arch A cover layer around the box file.


Cut out the buttress and cover with its cover layer. The glue in place.
Cover the pavement base layer with its cover layer.


Now cut out the Deck section and glue the pavement on top.


Cut out and glue the inner and outer parapet walls together. The glue the onto the deck section. Making sure to keep the printed wall to the inside.


Next cut out and glue the Parapet wall cover layer into place, and then wrap underneath the deck.


This will now give the reference point to where to fit the Bridge girder.

Cut out the girder edges and the parapet coping, and glue in place.


Next, make sure that your bridge fits in place first, then set aside. Then cut out the locating tab. Make sure that it sits in the locating slot snuggly. If it is too tight, carefully sand down the leading edge, so that it locates easily. Place it within the slot, but leave it slightly proud. Don’t push it all the way in. Run a line of glue along the top edge. Now carefully place your bridge in place over the locating tab. Let the glue set and then carefully remove the bridge section. The locating tab should now be in fixed place under the bridge section.


Just the back scene and a little autumn foliage to add to the rear of the fence, and that is it done.


I’ve enjoyed this kit, as it has a few new construction techniques. It’s taken me a little longer than I had anticipated, as I had to return to work. But overall, I’m very pleased with it.


I think that I’ll build a couple of the buildings again, now that I have grasped the construction techniques, and add some lights.
Until Next Time……

1 comment:
Outstanding work , thank you for sharing your experience.
Jacques
Post a Comment