
First of all cut out the main back wall. Then offer it up to its position on the box file, so that you can use the grey grid to adjust the height to fit.

Next, cut out the support walls, both “A” and “B”, and
adjust the height on “B” as with the main base layer.


Once you’ve cut out and amended the height, glue these
elements together, back to back and set aside with weight applied to dry.


As they are drying, cut out the front wall base layer.


Next glue support walls A and B to the main base layer.


Then glue the Front wall on top of the support walls.


Next cut out the front wall B and attach the drain pipe
covers layers.


This then gets glued to the front of the structure.


Next cut out the floors and glue them into position,
making sure to keep them square.


Next, cut out and glue the side wall cover layers in
place.


The front wall D, Right and Left are next. Cut out both
the base layer and the cover layer, and the window apertures. Then carefully glue together.


Fit the sills in place next.


Once the sills are in place, fit the windows. As I said
in my previous posts, I’m using the Scaleglaze 5 option. It makes life so much
easier.


Once all of the glue on the windows is dry, glue this
layer over the top of Front wall C.


Next glue the completed front wall onto the base layer
structure.


Next make up the soil pipe, and attach it to the left
hand side of the structure.


Finish off by adding the left hand side front wall.


Time to add the drain pipes to the wall. Using the jig
provided, roll the pipes and cut them to length.


Time to top off the structure. Cut out and glue the two
gutter layers into place.


Cut out the roof section and tile as you did for
structure A. Once complete, add to the top of your building and add the ridge
tiles.


Right it’s time for the steps now. They look complicated,
but they are quite simple. Just cut out the base layers and glue the corresponding
cover layers over the top.


Then glue together in ascending order. Making sure to
keep them square. I use a small square and glue them against it. Then clamp
them together to dry.


While the steps are drying, cut out the lower path base
and cover layer. Then fix in place.


Cut out the lower path supports, adjust to the correct
height and glue the two corresponding pieces together. Fit the both of them to
the underside of the lower path.


Once in place, fit the lower set of steps.


Then the upper set of steps. At this stage, you may have to add an extra step, depending if your original set are high enough. You can see in the photo that I’ve added extra step 14a. This brings it up to the height of the box file side.


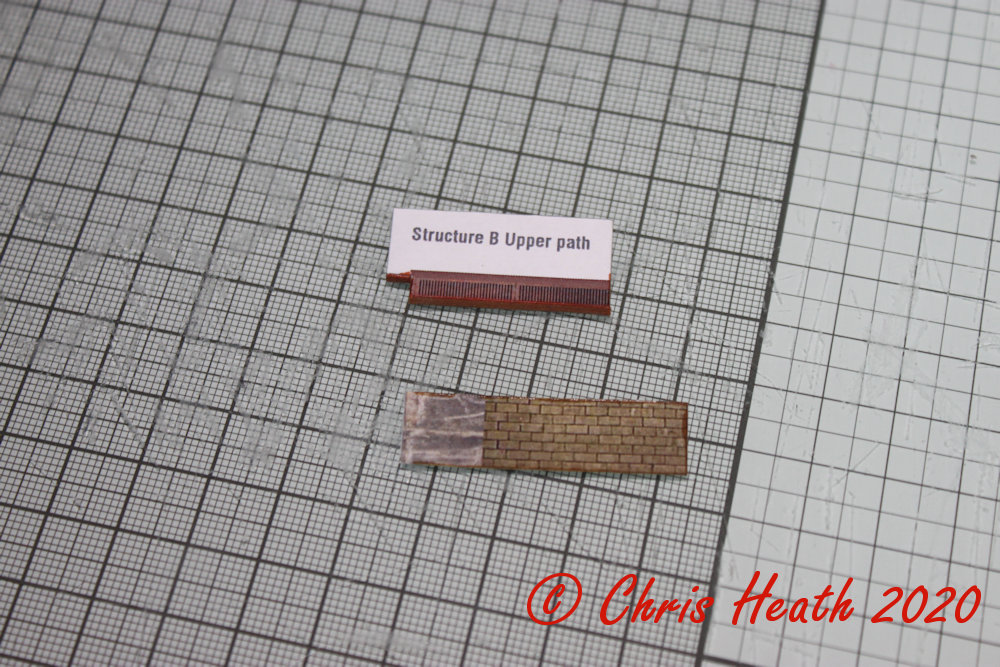
Once the steps are in place, glue the upper path supports
in place.


Then fix into place the upper path.


Next
is the stairwell walls. Firstly glue the stairwell door to the back of the
opening in the wall.

Then glue the two stairwell walls back to back and leave
aside with pressure to dry. Once dried, fit to the main structure.


Next is the bridge abutment. Simply cut out the two
sections, glue together, then wrap with the cover layer and glue in place.


There are two buttress to cut out and fit. The shorter
one fits just at the top of the first set of steps. The second will act as a
stop for when the two structures A and B are in the box file. So, fit the two
structures in the box file with structure B fitting into the socket of
structure A. When you’re happy with the fit. Glue the longer buttress in place
on structure B against structure A.


Fit the stairwell capping next. Followed by the stairwell
and wall copping.


And that’s it as far as the Scalescenes build goes. But
if you happen to have at hand some Ratio Spear fencing, at a 9 degree angle,
Scalescenes have made so that one section of the fence will fit just nice along
the top of the wall. The fencing code number is on the photo.


And that is it for structure B. Here it is with structure
A in place. I like this building a lot. It had a lot of new techniques, and the
end result is quite impressive.


Well
the brakes have been firmly applied to this kit, as I have been called back to
work. It will have to be done on an evening when I return and on weekends. It
has been quite nice to just amble on at my own pace building this kit. Deep
sigh!!!!!


No comments:
Post a Comment