Time for the final push on the T040b Lifeboat Station from
Scalescenes. This is the part that everyone that has gone before me and built
this kit, has stated that it’s the trickiest part of the whole kit. Well let’s
get started and find out what all the fuss is about.
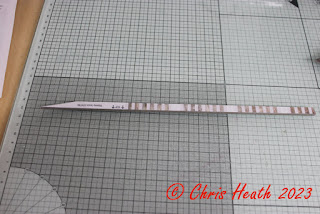
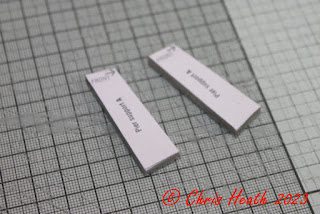
The first job for this stage is to cut out all of the Slipway Supports A and B. Make sure to keep A and B in separate piles, because the two are very slightly mirror images of each other. I found it easier if I colour coded the two, just to make sure they didn’t mix. Once they are all cut out, glue one of the A’s to the back of a B’s, making sure that the small squares are facing the same way.
|
|
|
|
|
|
Next, cut out the two Slipway Beam Centres and glue them
back to back. Set aside to dry.
|
|
|
While the glue dries, cut out the Slipway Base. Then glue
the Slipway Base Centre into place.
|
|
|
Next, using the light grey marks as reference, start to
glue the Slipway supports into place onto the Slipway Base. Making sure that
the small square is in the centre and the slight angle is facing upwards. Note
that they are all aligned inwards.
|
|
|
|
|
|
Cut out all of the Slipway Support Tops next, then glue
them to the top of the Slipway Supports.
|
|
|
Next, cut out the Slipway Beam Right A pieces, and glue
back to back. Repeat for Slipway Beam Left B. Then glue these into position on
the slipway Base.
|
|
|
|
|
|
Cut out the base layer and cover layer for Slipway Beam
Right B, and glue together, back to back. Set aside to dry.
|
|
|
|
|
|
Cut out the two rusty Slipway Beam centre tops next, the
glue them into place on top of the Slipway Beam centre.
|
|
|
As like the previous step, cut out and glue into place the
Slipway Beam tops. Make sure that the shorter of the two is at the bottom.
Repeat for Slipway Beam Right B.
|
|
|
Next, cut out, test fit and glue into place Slipway Top
Right and Left. Make sure that the channel down the centre is equal and
parallel.
|
|
|
Cut out and glue together Slipway Supports Right, Left and
Centre next. Then glue these into their relevant positions.
|
|
|
Next, cut out and squarely glue into place the Slipway Top
Ends.
|
|
|
Time to make the Pier Supports next. Cut out and glue
together Pier Supports A, the repeat for Pier Supports B and C. Then cut out
Pier Sides A,B and C. Using the light blue lines as guides, glue Pier Support A
onto side A, B onto B and you guessed it C onto C.
|
|
|
|
|
|
Next cut out the Pier A Front and Backs. Then on a level
surface, first glue the front into place on the Pier Sides, followed by the
back. Then repeat for Pier B and C. Cut out and glue together Pier Spacers A, B
and C, then place them in the centre of the Pier Support.
|
|
|
Cut out and glue into place, the Pier A Cover Layer. Then
repeat for Pier B and C. Test fit and glue the completed piers into place on
the slipway.
|
|
|
Next cut out and glue the Slipway ends into blocks of two.
Flip the slipway over and noting which way is up, glue the ends into place.
|
|
|
The final step for the Slipway, is to cut out and glue
into place the Slipway End cover layers.
|
|
|
And that’s it for the Slipway, hopefully it fits in front
of your Lifeboat House. I don’t know what all of the fuss was about regarding
the Slipway, I didn’t find it a challenge at all. Granted, I’m building in 00
not N, but it wasn’t that fiddly at all.
And here it is in all of its glory,
complete with the Lifeboat.
|
|
|
|
|
|
|
|
|
|
|
|
Until Next Time………


1 comment:
As usual, you make this look easy, Chris! Thanks for the build - it will work hand in hand with John’s instructions when I attempt this amazing kit! Steve S
Post a Comment