Friday, 22 May 2020

Canal Wharf Box File Pt.2...............


Right here we go with the main LY02 Canal Wharf Box File kit from Scalescenes. I’ve printed off all of the sheets and, stuck them to their respective thickness of card stock. When you see just how many elements there are, it’s understandable why it takes so long to design and produce these fantastic kits!


As you’ve seen from my previous post, I’ve already built the Steel Barge for the kit, so next in line, is the box itself.

The box to use is a standard UK foolscap box File. The dimensions, should you need them are, 370mm x 245mm x 75mm. I sourced mine from a local stationary store here in the UK (before lockdown). They are also available off the internet.
 

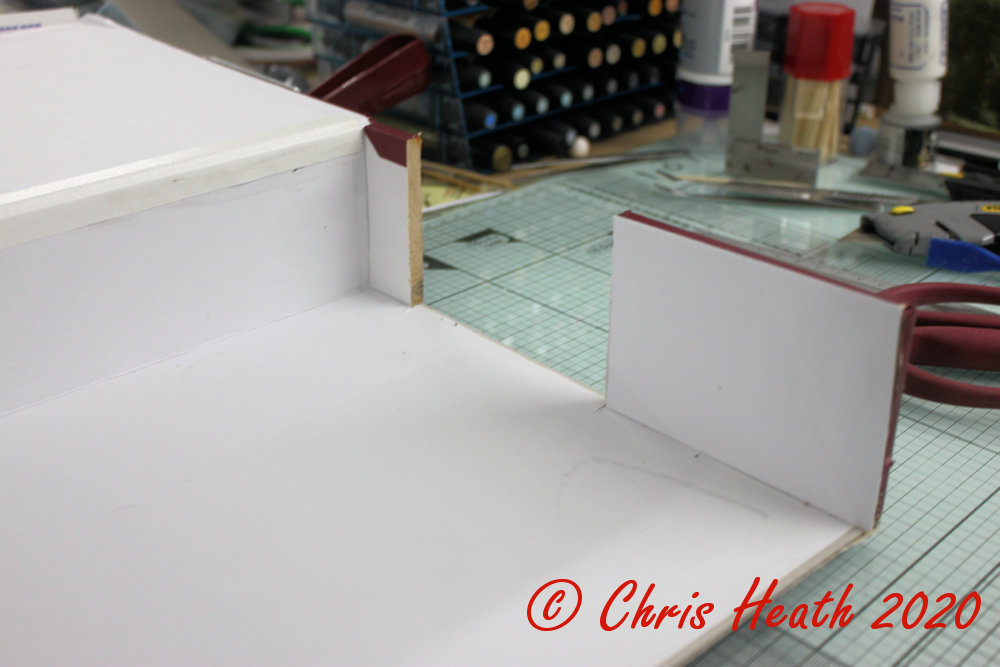
There’s a handy jig to mark out the precise location to make the side cuts. The other cut, is just removing the front of the box.


Next is to add the water. It comes in two sections. Don’t do what I done. I forgot to colour the edges before I stuck them down. Subsequently, I tried to rectify this and done it with them in place. All looked well until the ink dried, and it was too dark! Never mind, the barge sits over the join, so it will not be seen.
 

Now for the base.

It’s made up of four layers. The first layer is 2mm card, the second 2mm of cork, third another layer of 2mm card and finally, a layer of 1mm card. This, when all sandwiched together, gives the depth for the canal edge.

Cut out the first of the base layers and glue them to the cork.
 

Then, once the glue has dried, cut around the base layers with the cork backing. 
 

Check to make sure that it fits in the box. If not, trim to fit.


I was tempted, at this point, to build the kit with no rail lines to make it easy on myself, but after scratching my head for a short while, I opted to drop in the tracks.
So to achieve this next stage. Take the next layer of 2mm base and test fit this in the box.
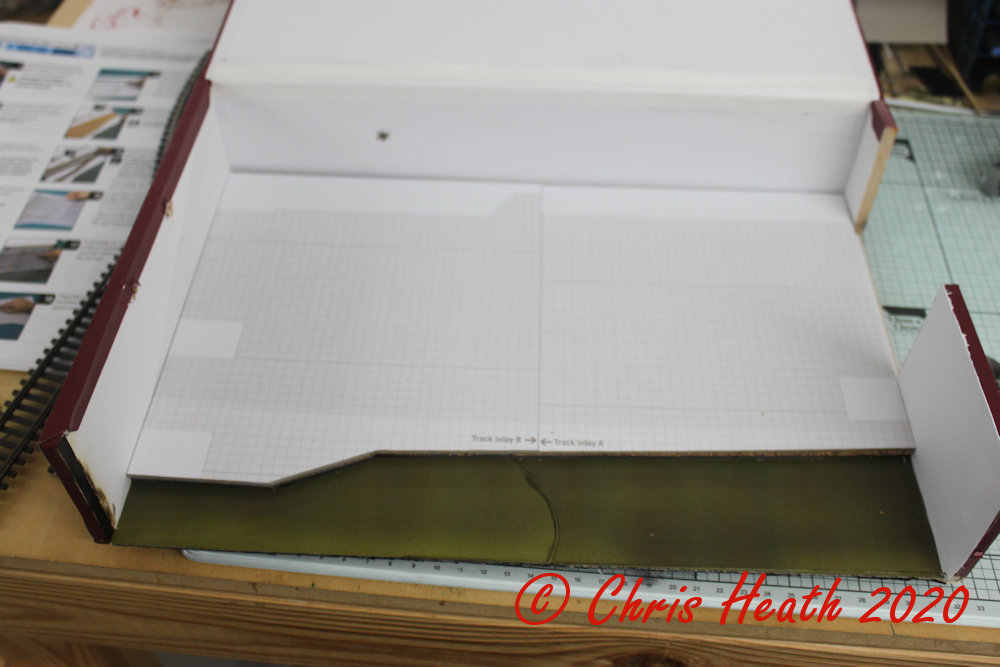
Once in place, take your desired track and temporarily fit it into place. 

Next, draw around the track and remove the area where the track will sit.
 

Take these sections and glue them in place on the base. Making sure that your track sits in place.
 

Next, print a sacrificial copy of the wharf surface. Lay this over the top of the tracks, and temporarily fix in place. Then trace where the top of the rails are.


Sorry, I forgot to take any pictures of this step. But once you’ve traced the location of the rails, just carefully cut them out and transfer the templates to the main 1mm card wharf surface, and cut out the sections.

Once test fitted and trimmed, glue these pieces to the base around the tracks.


Once in place, apply a decent weight and set aside to dry.


Just in case you’re wondering what is in the bags? It’s a couple of bags of my stock of grey board.

Right, this is going to be left aside to completely dry overnight. The fun all starts in earnest tomorrow with the buildings.

Until Next Time...………..

Wednesday, 20 May 2020

The New LY02 Canal Wharf Box File...............


AT LAST!!!!! It’s finally here, after the longest wait ever, the new LY02 Canal Wharf Box File kit from Scalescenes. I can’t tell you how much I’ve been anticipating this kit. It’s been promised this month, next month, the month after, in truth it’s taken longer than expected due to the current Coronavirus pandemic. John at Scalescenes is a very hard working, single employee at Scalescenes towers and due to the current pandemic, he’s had to try and factor in home schooling his young family. Along with trying to run concurrently, the design of a new complex kit and see to the day to day running of the business, responding to countless emails and questions from an ever growing population of Scalescenes modellers (we’ve had not a lot of anything else to do during lockdown) I think that we are to thank ourselves lucky that we’ve got this kit at all!

Right, where to start? I know, let’s start with the nifty little T030e Steel Barge. If you’ve ever built any of the Scalescenes boat kits, it will be a doddle. If not, fear not, it’s a very simple technique. Let’s go through it step by step.


First have yourself a wee dram, and toast the laying of a new keel (optional).


Next to make the Bow Bulkheads. A simple lapped joint to keep everything square.


The stern or aft bulkheads are next. Just like the bow, only an extra bulkhead for this one.
 

The Bow and Stern supports come next. These will give a base for the hull sides to form around and to glue to, and to fix the deck down also.
 

The port and starboard deck supports are next. Take care to cut these out free hand, as you will find they are not straight and have a slight curve.
 

Once both these side are in place, it’s time to start on the hold sides and coaming.

The hold sides and the coaming are just glued back to back. Then glued in place on the hull between the bulkheads.


Time to cut out and glue the deck down.


A little trimming of the hold aperture will ensure a tight fit around the hold.
 

Next to finish off the hold edges with a cover strip, to hide any raw edges.


The hull side are to be fashioned now. It looks more complicated than it actually is. Each side is just a shaped profile, carefully formed by drawing the side between your finger and thumb around a pen or pencil.


These are then simply glued to the deck supports and the bow and stern supports. 

A couple of bulwarks are fitted to the Bow next to give a little extra strength.


Next, it’s just a case of adding a couple of hatches and the bases for the bollards.


Lastly, to fashion a rudder and glue to the stern of the barge, and to fit the fenders to both the stern and bow.  
 And that’s it for the barge. 


Time to get my teeth into the main Box File kit. 


Until Next Time...........