
I’ve
managed to get another chunk of the new Scalescenes T040a Lifeboat. It’s
frustrating to only be able to get into the loft when the weather is cool
enough. After all, it is supposed to be summer!
Enough
rambling, here’s what I’ve gotten done.
Having
skinned the hull, the next job is to fit the Bilge Keels. Cut out the two sets
of Bilge Keels B and glue back to back and glue into place on the hull.
 |
 |
Cut
out the Bilge Keel edges and glue into place on the Bilge Keels.
 |
 |
Next,
repeat the previous instruction, this time with the Bilge Keel A pieces.
 |
 |
 |
 |
Cut
out and glue the Keel Edge into place.
 |
|
Next,
cut out and run a dark blue marker pen along the edges of the Upper Hull
Fenders, then glue into place.
 |
 |
Cut
out the Fairleads that are on the bow and stern ends of the Bulwarks next. Then
cut out the Bulwarks and introduce a slight curve to the Bow end. The starting
at the Bow end, carefully glue into place. Make sure that upper edge lines up
with the deck edge.
 |
 |
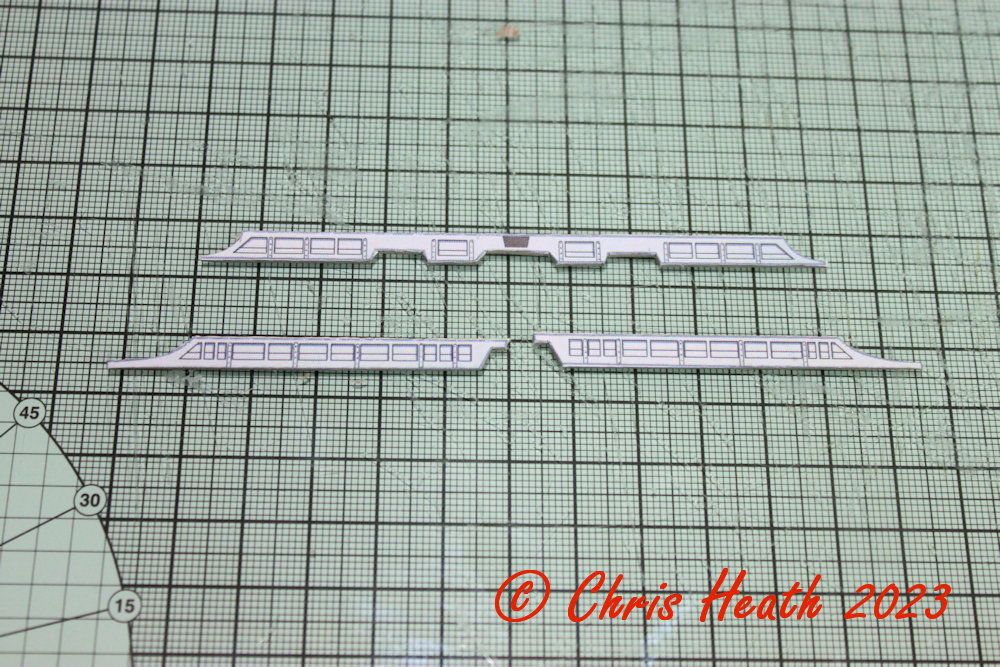
Next,
cut out both the Bow and Stern Internal Bulwarks. Introduce a slight curve to
all sections. Test fit, then glue into place.
 |
 |
 |
 |
Cut
out the Bow and Stern Capping next. Test fit, the glue into place.
 |
 |
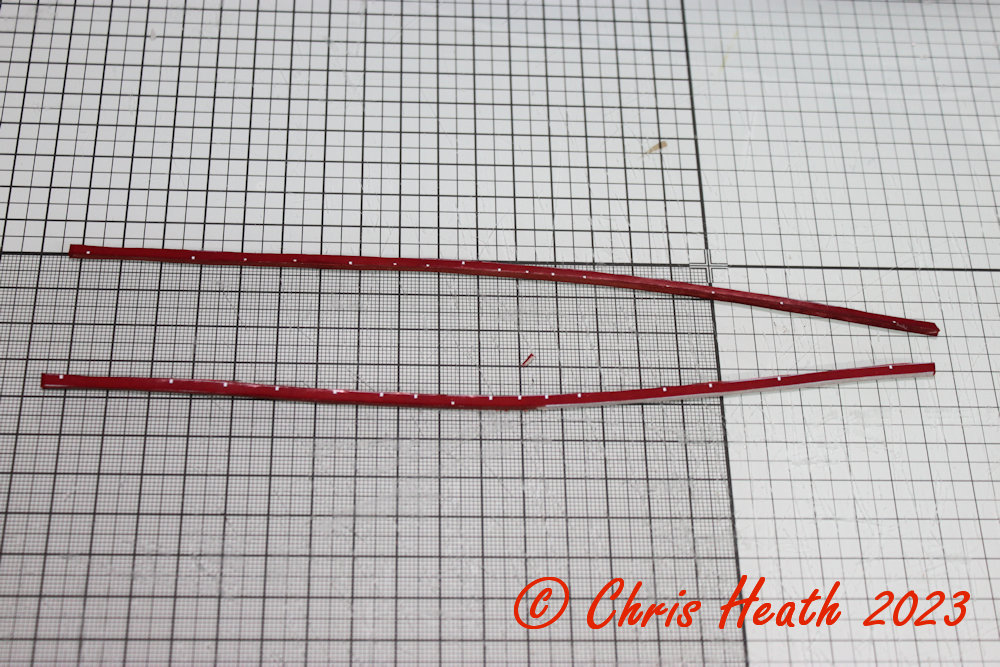
Next,
cut out and run a red marker pen along the edge of the Belting. Covertly mark
the bow end then introduce a slight curve. Test fit and starting at the Bow,
glue into place.
 |
 |
Cut
out the Aft Cockpit Wall front and back then glue them together. Cut out the
Aft Cabin Hatch and glue that into place. Glue the complete section into the
Aft Cockpit.
 |
 |
 |
|
Next, cut out Base A and the two Wall B sections. Glue the two Wall B sections together. Glue Base A into place on the deck and glue the complete Wall B on top of Base A between the blue guidelines.
 |
 |
 |
|
Cut
out Wall C1 next and glue onto the end of Base A.
 |
 |
While
the glue is drying, cut out the Aft Cabin Sidewalls and introduce a slight
curve the two of them. Then glue them into place on top of the base structure.
 |
 |
Next,
cut out and introduce a slight curve to the Aft Cockpit Internal Coaming. Test
fit, and glue into place.
 |
 |
Do
the same with the Aft External Cockpit Coaming as previous, the glue into
place.
 |
 |
A
little fiddly job next. Carefully cut out and glue into place the Aft Cockpit
Windscreen.
 |
 |
Next,
cut out one of the options for the Aft Cabin Roof and glue it into place. Cut
out the matching Aft Cabin Roof Entry and glue into place.
 |
 |
 |
 |
Cut
out and glue into place the Aft Cockpit Handrail into place next.
 |
 |
And
the last part of this session, is to cut out and glue together back to back,
the three Wall C2 sections. Once the glue had dried, cut out Wall C2 and glue
into place. Glue the complete wall into place.
 |
 |
 |
|
That’s
it for now, you’re up to date and my fingers are sore. Hopefully the great
British summer weather will be kind enough over the next couple of days, so I
can get a little more done
Until
Next Time………….


