Tuesday, 10 May 2016

Terraced Row...........


Right, I've set to and built the next set of six terraced houses for my row of eight. These are the new revised T022a from Scalescenes. To break up the look along the row, I've used two bay window options for a couple of houses, and used one of the options of the T022b download, to make one of the façades pebble dashed.


In the T022b kit, there is also an option for a derelict gable end. Well, it seems rude not to I suppose. The addition of this feature, is very reminiscent of a house at the end of a street very close to where I grew up, back in the sixties. A bit of waste land added once the street is in place, will be very realistic.
  
Time to put all of the roofing tiles in place. At this point in time, I've put all of the roofs in place and tiled the all of the fronts. In hindsight, I wished I'd stepped the street, and made the street go up a hill. To late now, they are all glued together now.

Time to tile all of the backs now, and to make all of the out houses for the back yards. I might even build the T022c Corner Shop at the other end to the derelict gable end.

Until Next Time...............

Monday, 9 May 2016

New Terraced Shops........

As you know, while we have been having the work done in the house, my craft table (the dining table) was pack away and out of use. So not been beat, I've been making a version of the new T022a Terraced Houses into shops with the T022c add on from Scalescenes at work, during my quiet weekends. They are built as the terraced house kit, but instead of a normal façade, the front is cut away using a template to accommodate the shop fronts. An insert is made and slotted into the front room, to make the interior of the shop. Not many pictures to show you of the build, but here are the finished pictures.


The chimney pots are fashioned from what is called an orange stick. I believe that women do something with their nails with them. But I find them just the right size to whittle chimney pots.
 
The table is back to normal now, so the row of eight houses are coming back out, to get finished.

Until Next Time........

Sunday, 1 May 2016

Back To Normal..................


Finally, I've managed to get back my work table. Back at the end of January, my wife and I decided to renovate our tired looking living room. A total make over, new fire and fireplace, re-plaster the walls new skirting boards, electrics you get the picture. So in order to do all of this, we had to totally empty the contents of the living room into the dining room. This was to be a temporary measure, so I'm sure that we could manage for a couple of weeks. The downside was, that the dining table also doubles up as my craft table. So no model building for a short while. I was in the middle of a project to build  eight terraced houses. All of the model and its constitute parts were pack up into a box, and put away into a safe place for the duration.  Well all was going well, the fire and surround were fitted, the electrics refit, the walls plastered, new skirting cut ready to be fit. Then we realised that we had a problem. The plaster on the exterior wall was not drying correctly. Turns out we had a problem with the pointing in the exterior brickwork, and a number of porous bricks. To cut a long story a little shorter, we had to wait until the weather was mild enough, for the builder to repoint the brickwork on the front of the house and the plaster to dry out, before we could decorate. So, after what seems to have been an absolute age, (eleven weeks to be precise) the room is finally finished and the house is put back to normal.

On a brighter note, all was not lost. I managed to build a small project in my spare time at work. I didn't take any pictures of the build, but I will take some of where I'm up to at the moment, and post them over the next couple of days. Once I've finished it I'll be back on with the row of terraced houses with gusto.


Until next time......

Saturday, 13 February 2016

Work Stopped Play.................


Sorry for the lack of a post over the last couple of weeks, about the row of terraced houses, but we've had to empty out all of our living room into our dining room, to have a complete rework of the living room. Walls back to brick and re-plaster, fire and fireplace removed and renewed, skirting boards renewed, new doors and carpet. So, because we are living in the dining room, our dining table, which doubles as my work table, has had to be dismantled. So no modelling for me for the last three weeks. But as we thought we were getting to the end of all of our work, we've taken two steps backwards. After getting all of the walls plastered, we've found out that we have damp in the exterior wall. The whole of the front of the house needs repointing. So now we are looking at another three weeks to get the pointing done, and the wall plastered for the second time, so I can get the decorating done. Nothing ever goes to plan in this old house. So , until we finish all of this work and I get my table back, the terraced houses are on hold.


Until Next Time................

Wednesday, 20 January 2016

Revised Terraced Houses...................


Right, this is the last model that I’m going to build, before I get myself up into the loft and start my layout. These are the new revised T022a Terraced Houses from Scalescenes. I’ve built the old version a couple of times already, including a row made up into the shops, with the burnt out chippy. I’ve not built the row any longer than four houses up until now. I’m going to make the row eight houses long. I may even put them together on an incline. Time will tell.
They are of a total new construction method, and in my opinion, much better than the old version. There’s the addition of back yard walls with outhouses and front garden walls. They are built in two houses per section, and as I said earlier, could be easily configured to be installed on a bank.
First I like to cut out and mount all of the windows onto acetate, ready to be fixed to the relevant walls.
 
Now here is where the walls and floors that make up the interior structure come together. They are much better than the old version. Inter-locking sections, that’s much stronger and stable. Top tip, keep a small piece of 2mm scrap card to use as a gauge and check that the slot is wide enough when cut out. This makes it much easier to fit the sections together without damage to the walls, if the slots were too tight.


Gluing the interior walls to the main wall in sections, again adds rigidity and strength.
 
The small sections of the exterior walls come next. Two sections, with one of them having an interior wall incorporated.  
 
When the main wall is added, there is an extra layer which is slightly wider than the outer wall, and this layer has the drain pipe on. So when glued together, the drainpipe can’t be knocked off.
 
Now to build the front wall. Exactly the same as the rear walls. I have to ask you to look at the curtains. On a previous build, where there were curtains, I put them all in place all random and uneven. My wife informed me that “No self-respecting, house proud woman, would have uneven curtains.” She would straighten all of the curtains on a morning when they were opened. So I did as I was told and straightened all of the curtains. That’s me told!!
 

Once the walls are in position, it’s time for the ceilings, incorporating the guttering.
  
The end gable wall comes together at this stage. Again with incorporated drainpipes.
 
That’s as far as I want to go with this section. I want to build all of the sections to this stage so I can run the roofs in one go.    

Time to crack on and build another three houses.
Until Next Time………..  


Tuesday, 5 January 2016

The "Shed That Jack Built"


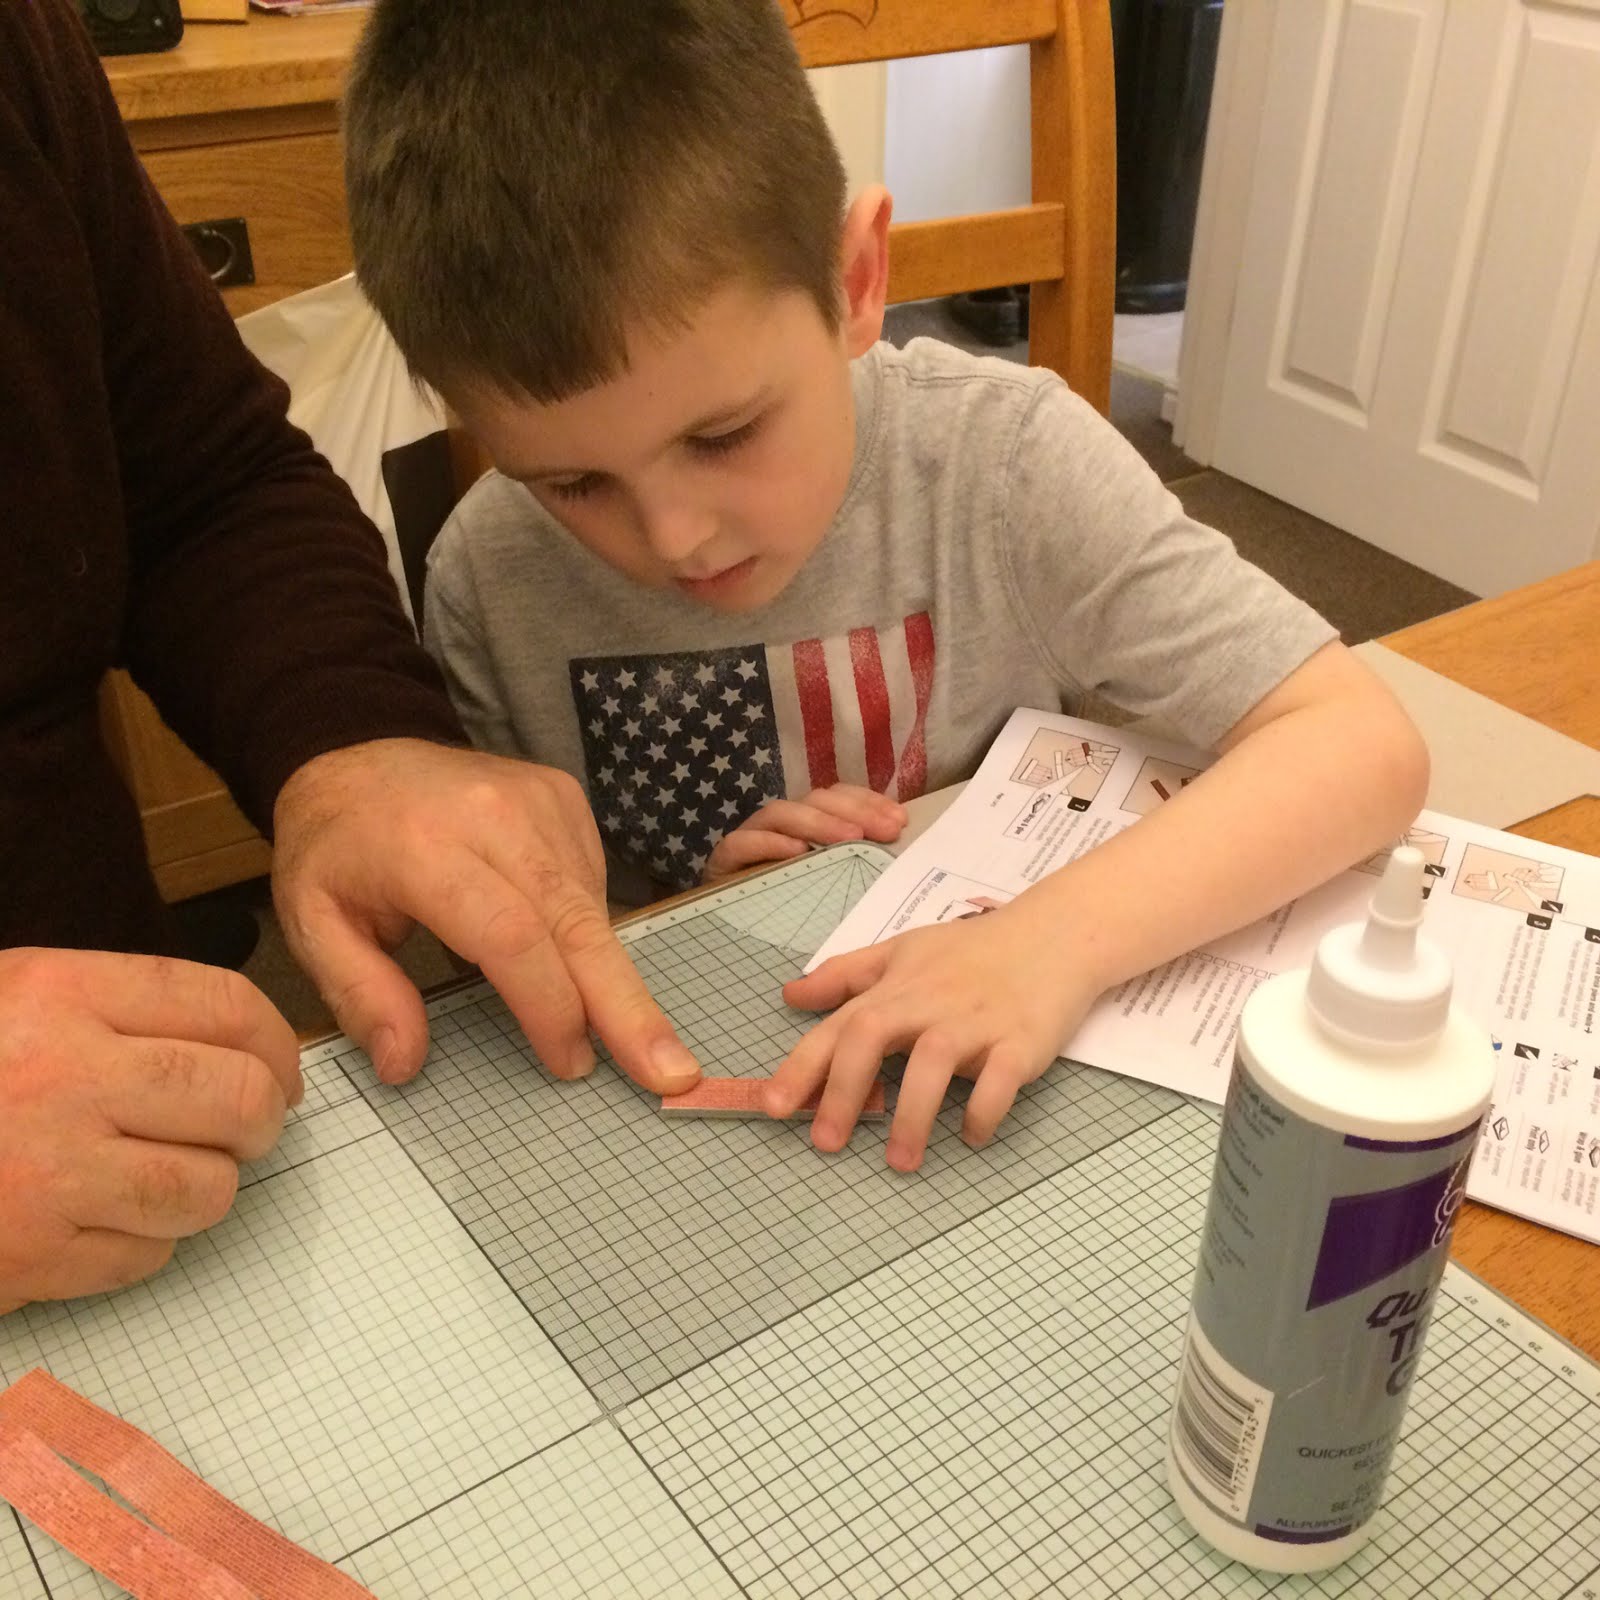
Jak and I had the pleasure of having our Grandson Jack for a sleepover last night, and trying to keep him occupied without just sitting him in front of the TV, is a challenge. Now Jack has a very inquisitive streak in him, and he often sits with his Gran and crafts away making cards with her. He also sits and watches me making my models. He asks question after question, just like a six year old should do. So, to try and help his developing mind, I asked him if he would like to build his own model. “Yes” came the reply. So I printed out the the Small Goods Shed for him, and away we went. He enthusiastically   stuck the printed elements to the card, and I dutifully cut them out for him. We had a couple of little mishaps along the way, and with a little help from Grandad, we got there in the end.
 
 
He was so pleased with his results, he’s done a video tutorial to go with it. Just click on the video below to see his efforts. Now he reckons, the next time he comes to stay over, we have to build something bigger. What have I started?

Saturday, 2 January 2016

Dilemma.........


I have to say I have a little bit of a dilemma. It all started a couple of years ago now. I built a table in my loft to accommodate a train layout. It was a reasonable size table and I was really looking forward to putting together my layout. I think I made a huge mistake. I had this vast blank canvas to fill. Well, I totally filled the table with track and rolling stock and in my hast to make my layout, I didn't realise I had no space for any scenery or buildings. So I completely took it all to bits ready to start again. I had to get some buildings put into place and set a scene ready to lay the track around them. Now here is where the problem started. My Wife Jak found a website called Scalescenes, which offered a wide range of downloadable models geared to railway layouts. I picked a free track side shed to download and build. Well that was it, I was hooked. Well, one thing led to another and I've really enjoyed building kit after kit. I think I might have gone a little overboard. I've been putting completed models to one side the starting on a new one. I didn't realise what I had until I put the all on the table together. The problem I had before was, there was no room for track. "Houston, I have a problem" I may have gone a bit overboard.


I think I may have just built my way though the whole Scalescenes catalogue. I now have to get my lazy backside into the loft, and in the new year get a start on building my layout. Wish me luck.

Until Next Time.............