
Right now
it’s time to build the next facade in succession for the T004 Shops on a Slope
kit from Scalescenes. It’s Facade A3. I like this one, as it has a Bay Window
above the main shop window.
Let’s get started.
As with previous facades, we
start with a base layer and cover layer. In this case, the Upper Facade. Glue
the cover layer over the base. Then wrap and glue the window flaps and the
bottom flaps in place.
 |
 |
Next cut
out and glue into place the sills.
Top tip. At this
point, use a marker pen to colour any exposed raw edges of card. Like under the
top window lintels.
 |
 |
Time for
the windows. Again I’m going with the Scaleglaze option. These are Scaleglaze
1-H x 1 for the bay window and Scaleglaze 1-F x 2 for the two other windows.
Cut these out and glue centrally into the openings.
 |
 |
Now for a
fiddly bit for me, as I have huge fingers not suited for intricate work!! It’s
the bay window.
First cut out and Bay Window
Gutter Base and cover it with the Gutter Cover layer.
 |
|
Cut out
both the Upper and Lower Window supports. Glue the corresponding two pieces on
top of each other and set aside to dry.
 |
 |
Next,
very slightly score the Bay Window on the dotted lines and introduce a gentle
angle. Making a note of the top and bottom patterns of the supports, glue into
position on the window. Apply gentle pressure until the glue dries.
 |
 |
Cut out
the Bay Window Underside base and cover it with the Bay Window Underside cover
layer. Cut out the Bay Window Underside Panel and glue it over the flaps of the
Bay Window Underside piece. Then glue this to the bottom of the Bay
Window.
 |
 |
Next cut
out the main Facade and glue the Bay Window into place.
 |
|
Now using
a fresh sharp fine blade, carefully cut out the Bay Window cover layer.
Introduce a slight fold along the dotted lines. Then glue into place over the
Bay Window.
 |
 |
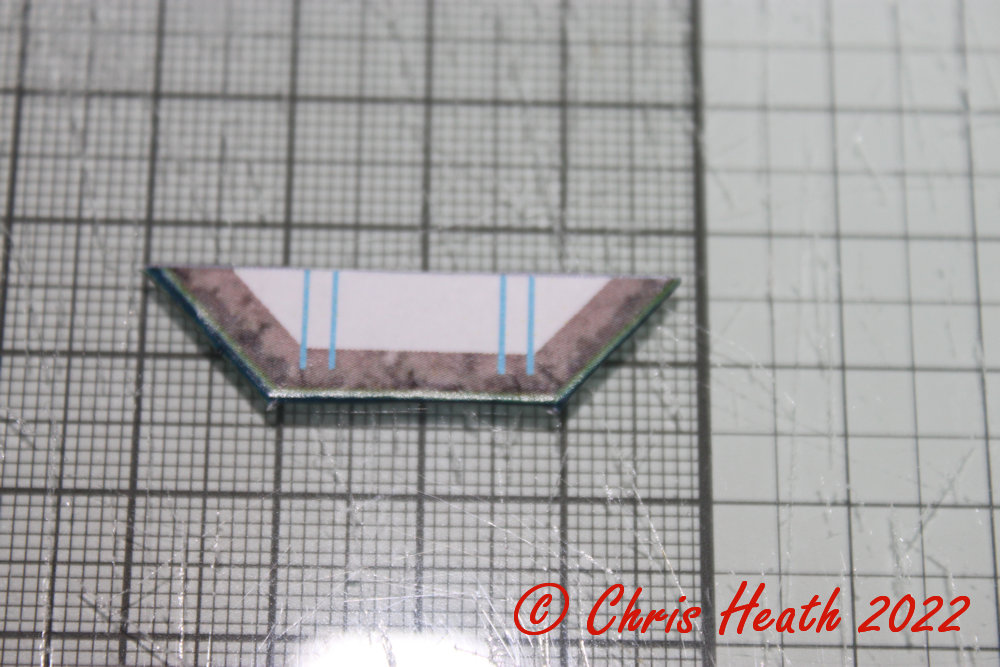
Lining up
the blue guide lines, glue the Bay Window Gutter into place. Cut out and glue
into place the Bay Window Roof Supports. (Noting the up arrow).
Cut out and lightly score the red
lines on the Bay Window Roof. Then glue into position. Then finally, cut out and
glue the ridge Capping into place. And that’s the Bay Window done.
 |
 |
 |
 |
Next cut
out your choice of Shop Overlay. I’m using #3. Test fit and glue into
position.
 |
 |
Next cut
out the Column cover and Base layers and glue the cover layers tightly around
the base layer. Glue the completed Column into place. Then cut out and glue the
Column Tops into place.
 |
 |
 |
 |
The Shop
sign is next. Cut out and glue into place the Fascia Support. Cut out your
chosen Shop sign along with the Fascia Base and Cover Layer. Wrap the cover
layer over the base and glue you sign into place. Once dry, glue into place
over the shop window. Making sure there is a slight angle.
 |
 |
 |
 |
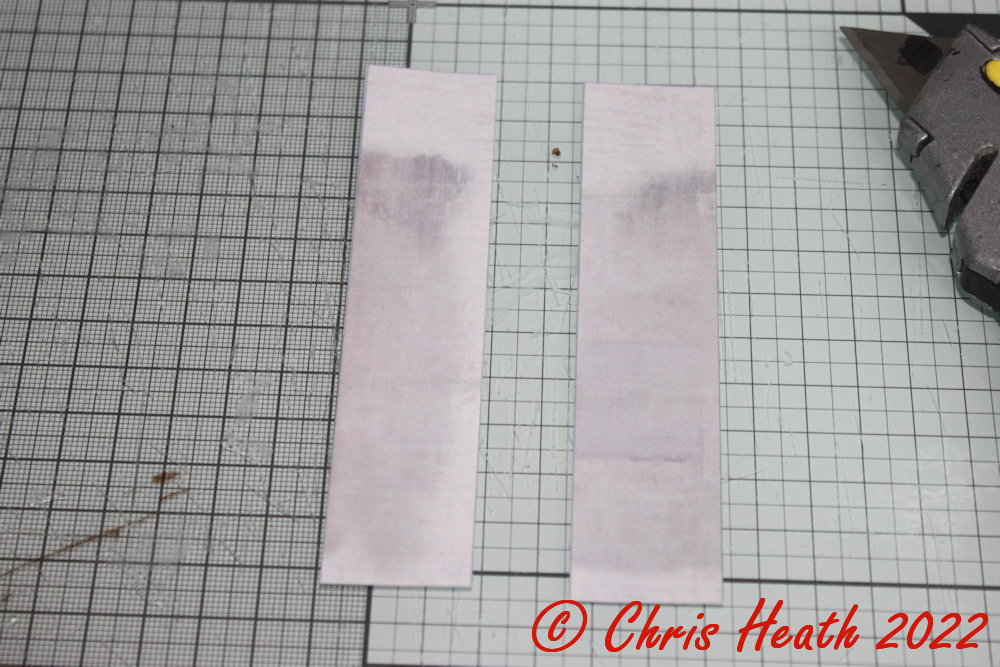
Next, cut
out both the Plinth base and cover layers and glue together. Cut the step and
glue into place. Test fit and glue the completed plinth into place.
 |
 |
 |
|
It’s time
to fill your shop with your desired interior detail.
 |
|
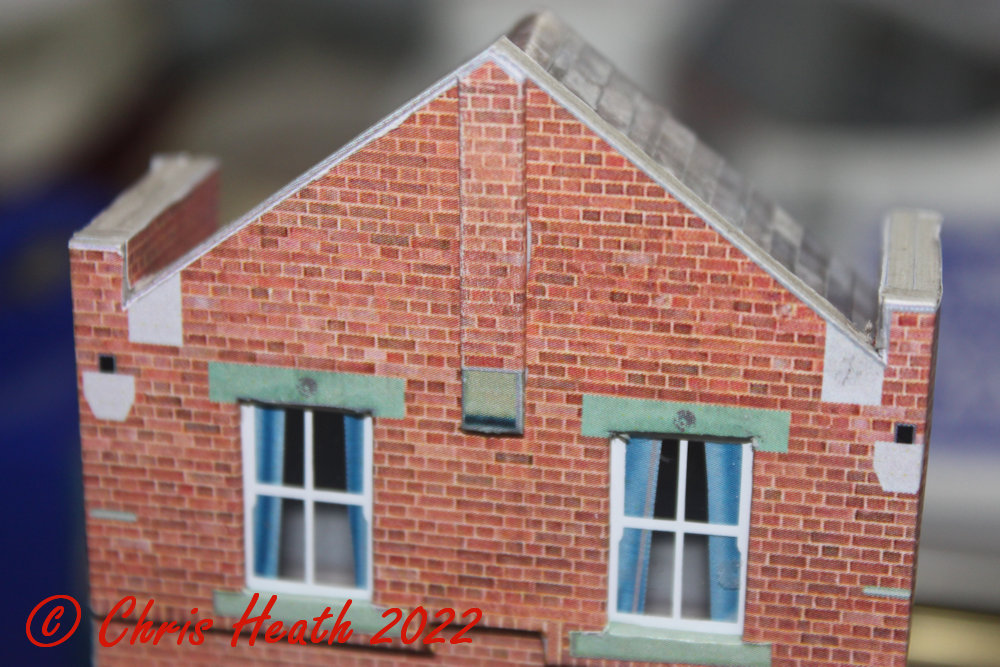
Cut out
the Gable Back next and glue into place on the back of the Facade. This helps
to locate the Facade on the structure when you glue it into place. Glue the
Facade to the main structure.
 |
 |
 |
 |
Cut and
glue the Parapet Walls into blocks of two. Then place on the top of the building side wall. Cut out the Parapet Wall cover
layers and glue into place over the Parapet Walls.
 |
 |
 |
|
Line up
squarely and glue the Upper Facade into place. Then tightly wrap the loose
flaps all the way around the side and back.
 |
 |
Cut out
and glue the Sidewall overlays into place.
 |
 |
Next, cut
out the Roof Supports 1 and 2 then glue Supports 1 into blocks of two. Test fit
and glue the Supports into position behind the Gable.
 |
 |
 |
|
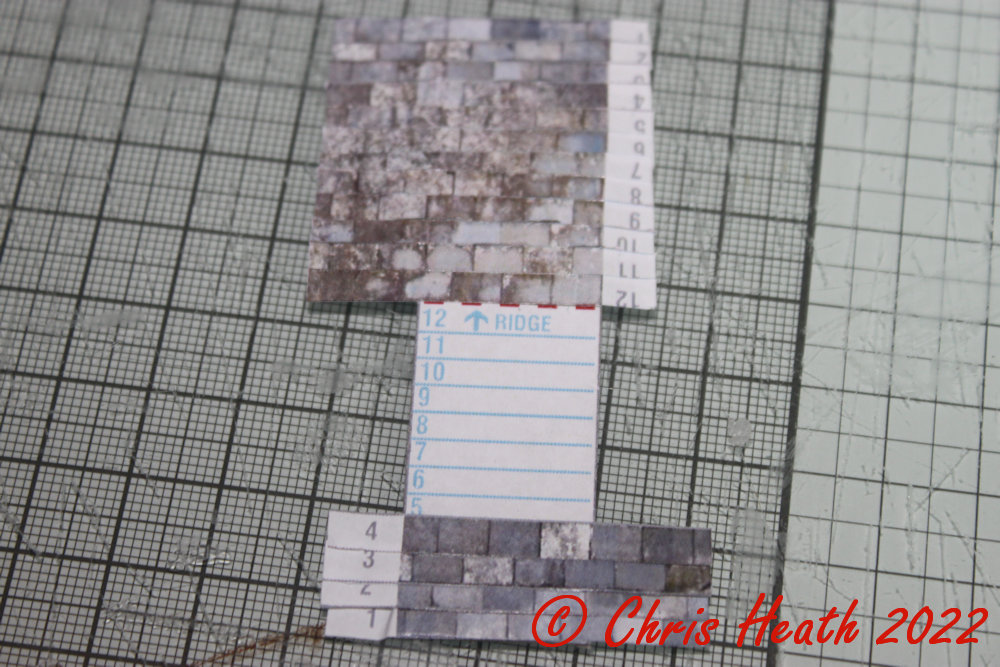
Cut out
the roof a long with the strips of Roof Tiles next. Starting with #1 glue the
strips up the roof section. Once the glue is dry, cut off the excess strips.
Then test fit and glue the complete roof into place.
 |
 |
 |
 |
Next, cut
out the Corbel cover layer and wrap it around the Corbel base layer. Then glue
the complete Corbel into place.
 |
 |
 |
 |
Next, cut
out and glue into place the Ridge and Side Wall Coping.
 |
 |
Cut out
and glue into place the Leader Heads. Also cut out and glue into place the
Downpipes. Making sure that you introduce a slight kink in the Downpipes to
follow the contour of the Facade.
 |
|
Cut out
and glue the Chimney base layer into a block of three. Cut out the Chimney
cover layer and wrap tightly around the chimney base. Cut out, wrap and glue
the Chimney caps onto the top of the Chimney.
 |
 |
 |
 |
And
that’s another one done.
 |
 |
The next
one will be the Facade B2.
Until Next Time……….
 |
|
No comments:
Post a Comment