
After what seems like an eternity, the
new T004 Shops on a Slope kit from Scalescenes has finally arrived! I know that
it’s been a long time coming but, I think it is well worth the wait. The
version that I’m building is the sloping down from left to right configuration.
I’m going to construct all of the Shop backs first and build the facades once
all of these have been built.
So, here we go.
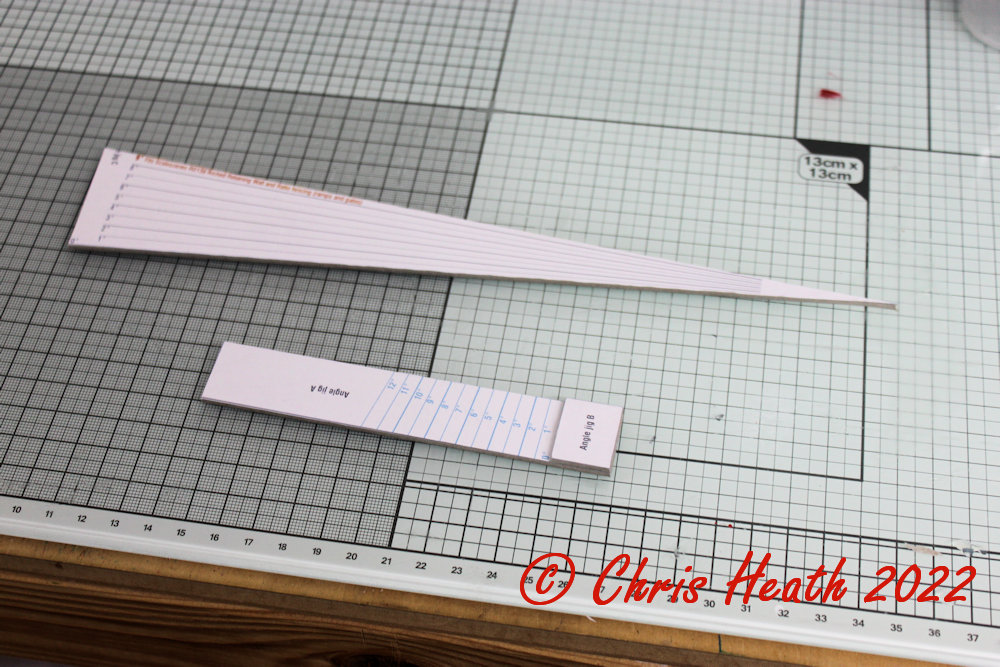
First job, is to make the handy jig to work out the angle you
need to achieve. I’m going for 9 degrees as it will fit alongside the R013a
Retaining Wall ramp.
Just cut out the three parts at the angle you require, and glue together. Making sure, as always, that everything is true and square.
 |
 |
Once that you’ve decided how long your street needs to be, cut out the amount of Common back walls you will need to achieve the length you need. Starting with the Back Wall C, work away to the left in the configuration of shops you are building.
 |
 |
Using the Angle Jig, start with the Red Slope End Point on Back Wall C and align the next two backs with the Angle alignment point to the left of the back walls, and mark between the three points with a pencil.
 |
 |
Adding the next two or three backs, again
align these with the jig and continue the pencil line.
 |
 |
 |
 |
Once you have the line drawn, cut the
backs to the required heights.
 |
 |
 |
 |
Next cut out all of the Side walls 1 and
Side walls 2. Align the tops and glue the two corresponding walls together and
set aside to dry.
 |
 |
Once dried, match the side walls to the
corresponding back walls and number them together on the back. This will keep
all of the parts in the correct order.
 |
 |
Next, cut out all of the floors and ceilings, and glue them back to back.
 |
 |
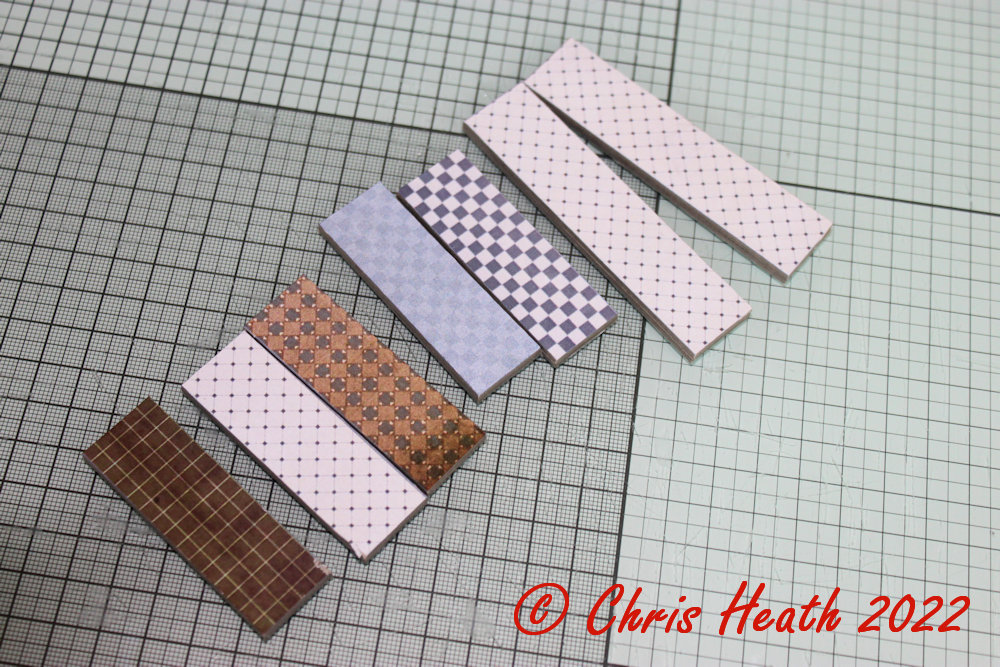
Do the same with the patterned and plain
shop floors.
 |
 |

|
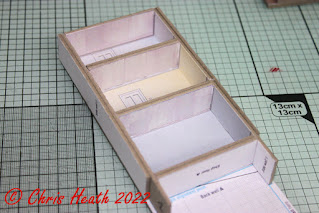
Start by aligning at the top, glue the
side wall into position. Making sure all is square and perpendicular.
 |
 |
Next, glue the Floor/Ceilings into position. Again, check for square.
Finish by gluing the remaining side wall into position.
|
|
 |

Just because I’m a bit OCD, I’ll check again for square!!
 |
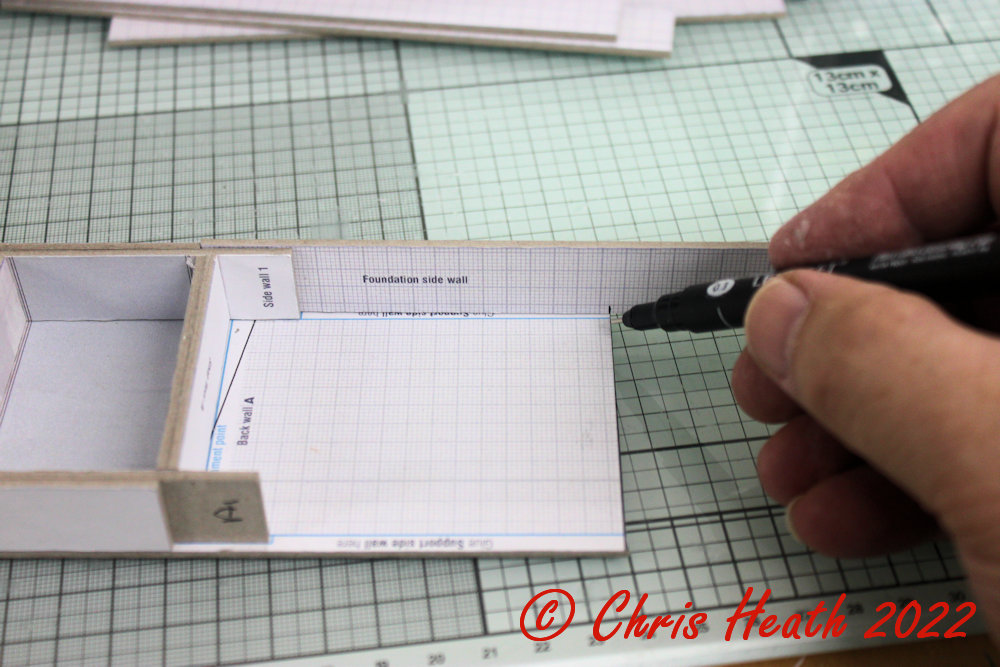
Cut out all of the Foundation Side Walls.
Place a section of the foundation side wall on the bottom of the Side Wall 2. Measure and cut to length, the glue into position.
 |
 |
 |
 |
Repeat for the other side.
Measure a second piece as before to go
on the bottom of Side Wall 1, then glue into position.
 |
That’s it for this section. Just
measure, cut, glue and repeat for all of the remaining sections you have chosen
to do.
 |
Now to print out all of the Facades and
get a start on them.
Until Next Time…………

1 comment:
Thanks for your tips. I'm at an early stage but proceeding carefully and slowly to avoid too many mistakes. I think I will change one or two cover layers to ashlar or similar as it's more prevalent round here. I've been wondering how to do a sloping street for a while so this is very apposite.
Looking forward to more posts from you!
Post a Comment